Joomla 3.9.18 + Virtuemart 3.8.2 + SP Builder 3.7.2 Documentation
Modules
Understanding Modules
As you've learned in previous sections, website content can be broken up into two parts: primary content and secondary content. You learned how to create primary content in the Articles section and how to link to that content in the Menus one. Other content on the page, such as navigation menus, newsletter signup forms or footer text is secondary content. In Joomla, this secondary content is normally controlled through Modules. Modules are one of the five types of Joomla Extensions. The other types are more fully explained in next sections.
Creating a New Module
Using the simple instructions, you should be able to create almost any module type available to you. Here is a recap of the general steps to creating a new Module:
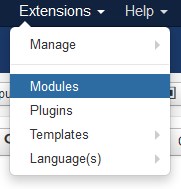
- NAVIGATE to the Extensions menu and then Modules.
- CLICK New button.
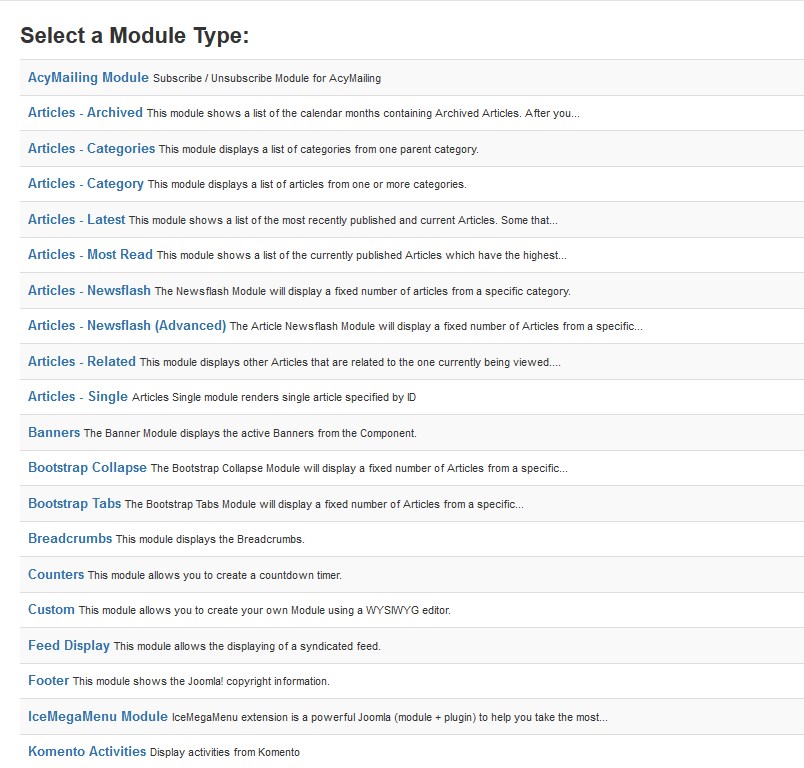
- CHOOSE the Module type from the list box.
- ENTER a Title for the new Module.
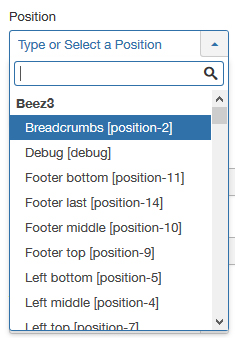
- SELECT a Template Position to display the new Module.
- ENTER any other applicable settings or content for the Module.
- SAVE the Module and CHECK the frontend by refreshing your browser.


Assigning Modules to Menu Items
Modules can be set to display on all pages throughout the site, or just pages that you specify. First, as always, sign in to the Administrator.
- NAVIGATE to the Extensions menu and then Modules.
- CLICK the Title of the Module you wish to work with.
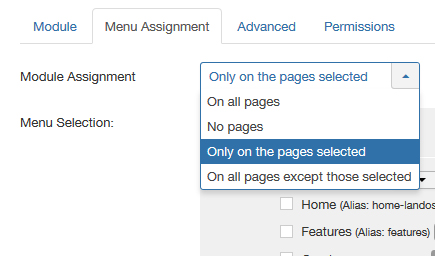
- CLICK the Menu Assignment tab.
- SELECT Only on the pages selected from the Module Assignment dropdown.
-
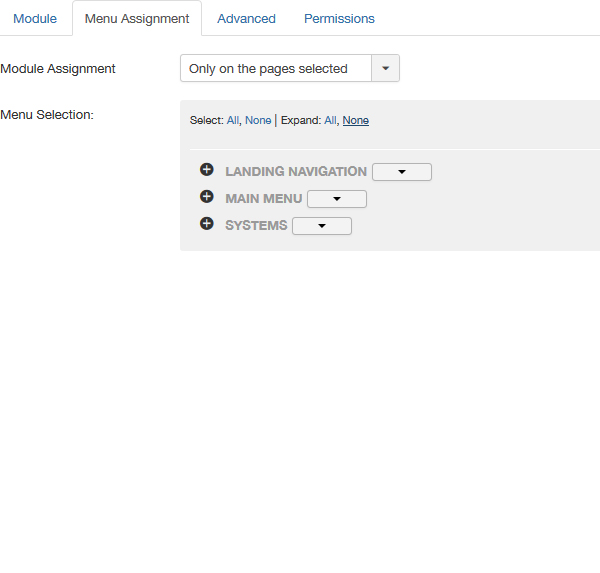
CLICK the None link next to Select at the top of the Menu Selection screen in order to clear the pages that will be displayed. This will cause the Module to not be displayed on any pages, but it will also make selecting the page or pages where you want to display the Module easier to manage.
- CLICK the plus sign next to Main Menu in order to view the options under that Menu.
- SELECT the Menu Item "pages" that you would like your Module to display on.
- CLICK the plus sign next to Main Menu in order to view the options under that Menu.
- CLICK Save & Close and CHECK the frontend to ensure that your Module is displaying properly.



Module Order
The last issue that we will consider in this section is the ordering of Modules on the page. We can change the order that Modules display by setting the Ordering column in the Module Manager. We will go through the required steps to change the ordering. As always, begin by signing in to Administrator.
- NAVIGATE to the Extensions menu and then Modules.
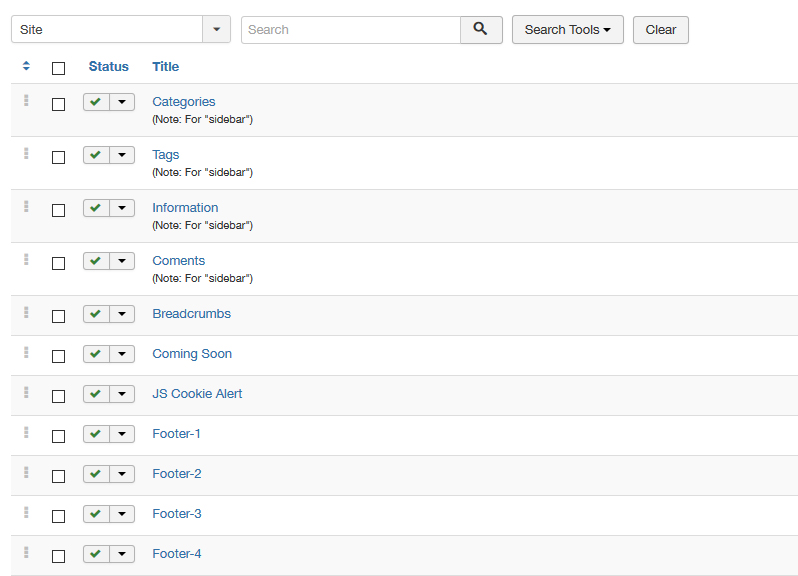
- FILTER the Modules by Position with the Select Position dropdown.We're working with the breadcrumbs.
- GRAB the ordering icon to the left of the Module that you would like to reorder and drag it to the new location in the list.
- CHECK the frontend of your site to ensure that the Module has been reordered.


