Overview
Illusion Documentation v1.0
Version: 1.0
Author: mad_velikorodnov.
Designed by: http://themeforest.net/user/mad_velikorodnov/
Install WordPress
If you haven't have a working version of WordPress, you need to install it first in order to install illusion theme. You can find many instructions to install WordPress in WordPress Codex or the Instructional Video created by Woo Themes. Below are some helpful links for you about WordPress information.
- WordPress Codex - This link provides overall information about WordPress and WordPress installation guide.
- Instructional Video - Guide to install WordPress video created by Woo Themes.
- First Steps With WordPress - Multiple useful topics about WordPress.
- FAQ New To WordPress - Common questions about WordPress.
1. Install Theme
1.1 Installation
- Requirements for Theme
You can click here to find out more about requirements of WordPress.
Below are three requirements for working version of WordPress, php, and mysql.
- WordPress 4.0 or higher.
- PHP 5.4 or higher.
- MySQL 5 or higher.
You also need to make sure that your host can comply with follow requirements. We recommend using WP Engine or Blue Host for all your hosting needs.
- Your web host has the minimum requirements to run WordPress.
- Your host are running the latest version of WordPress.
- You can download the latest release of WordPress from official WordPress website.
- Always create secure passwords for FTP and Database.
- Recommended PHP Configuration Limits
Low PHP configuration limits can cause many issues. When related issues occur, you need increase your PHP limits to a minimum as follows:
- max_execution_time 180
- memory_limit 128M
- post_max_size 100M
- upload_max_filesize 100M
- max_input_vars 5000
1.2 Theme Installation
- Install new theme manually via FTP Client
In order to add a new Theme to your WordPress installation, follow these basic steps:
- Download the zip package of illusion theme in ThemeForest
- Unzip illusion.zip package which you can find inside Theme files folder.
- Connect to your FTP server and navigate to the WordPress installation folder. Go to wp-content/themes/ and upload illusion folder.
-
Open WordPress admin panel (navigate through web browser to the folder where you have installed the WordPress e.g www.your_domain.com/wp-admin/) and go Appearance > Themes on admin sidebar. Activate illusion theme.

- Install Theme via WordPress Admin Panel
-
Open WordPress admin panel (e.g www.your_domain.com/wp-admin/) and go Appearance > Themes on admin sidebar and click "Add New" button.

-
After that, click Upload Theme link and upload zip package of illusion theme(


-
Once uploading theme is finished, it will install theme automatically.
You can click Activate link or go to Appearance > Themes on admin sidebar to activate theme.

Once theme is installed, you need to install Required Plugins to get full working features.
1.3 Plugins Installation
After installing and activating the theme you will see the following message at the top of the page.
You should click Begin Installing plugins link in order to install needed plugins for illusion theme.

You will be redirected to Install Required Plugins page, here you will find all of the theme required plugins. In order to install these plugins, you just need to check all of theme and select install then click apply.
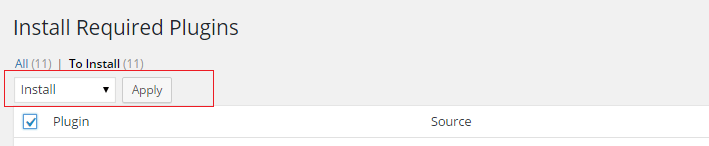
The picture below will list some required plugins for illusion.

When installation process is done, you can click Return to Required Plugins Installer and select active then check all plugins to active these plugin.

After finishing plugin install, you need to configure the plugins.
1.4 Plugin Configuration
- Visual Composer
Visual Composer for WordPress is drag and drop frontend and backend page builder plugin that will save you tons of time working on the site content. You will be able to take full control over your WordPress site, build any layout you can imagine – no programming knowledge required. Moreover, now you can choose either work on a backend or move your page building process to frontend and instantly see changes you make.
You can see here for more details.
After installing the Visual Composer, please go to Visual Composer > General Settings and make sure to check the following checkboxes under Content Types: post, page, casestudy, member, testimonial, client, block. After making the changes, remember to click Save Changes button.

- Woocommerce
WooCommerce is the most popular WordPress eCommerce plugin. Packed full of features, perfectly integrated into your self-hosted WordPress website.
You can see here for more details and woocommerce documentation.
- Install Woocommerce Pages
You can see the following message after install woocommerce plugin and you should click Install Woocommerce Pages.

Important! If you want to import dummy data, you can skip to install woocommerce pages.
You can see "Shop", "Cart", "Checkout" and "My Account" pages in Pages on admin sidebar.
- Change Image Sizes
You can change the product image sizes in Woocommerce > Settings > Products > Display > Product Images on admin sidebar.
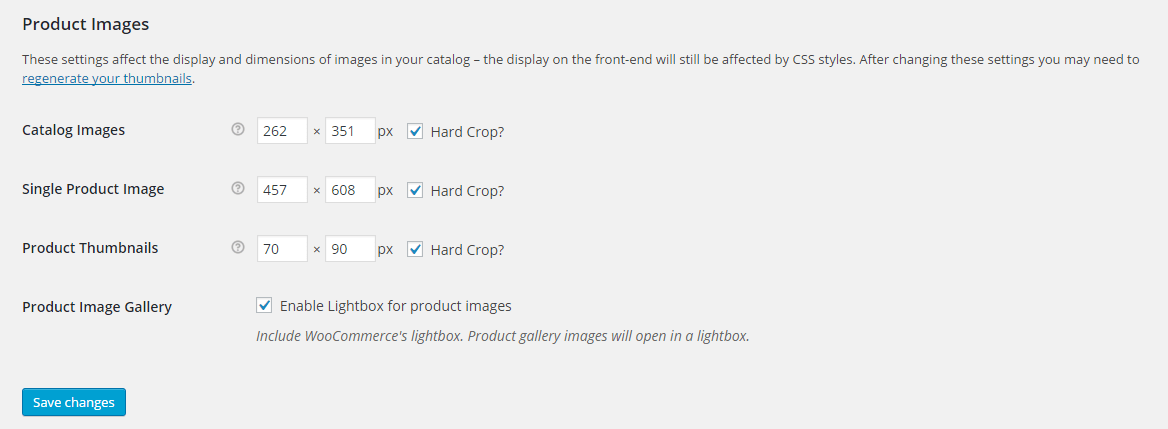
We used the following image sizes on our demo sites:
- Catalog Images: 262 x 351
- Single Product Image: 457 x 608
- Product Thumbnails: 70 x 90
After change the image sizes, you should regenerate all the thumbnails using Regenerate Thumbnails plugins.
- Enable Registration on My Account
Please go to WooCommerce > Settings > Account > Registration Options and enable registration on the "My Account" page.
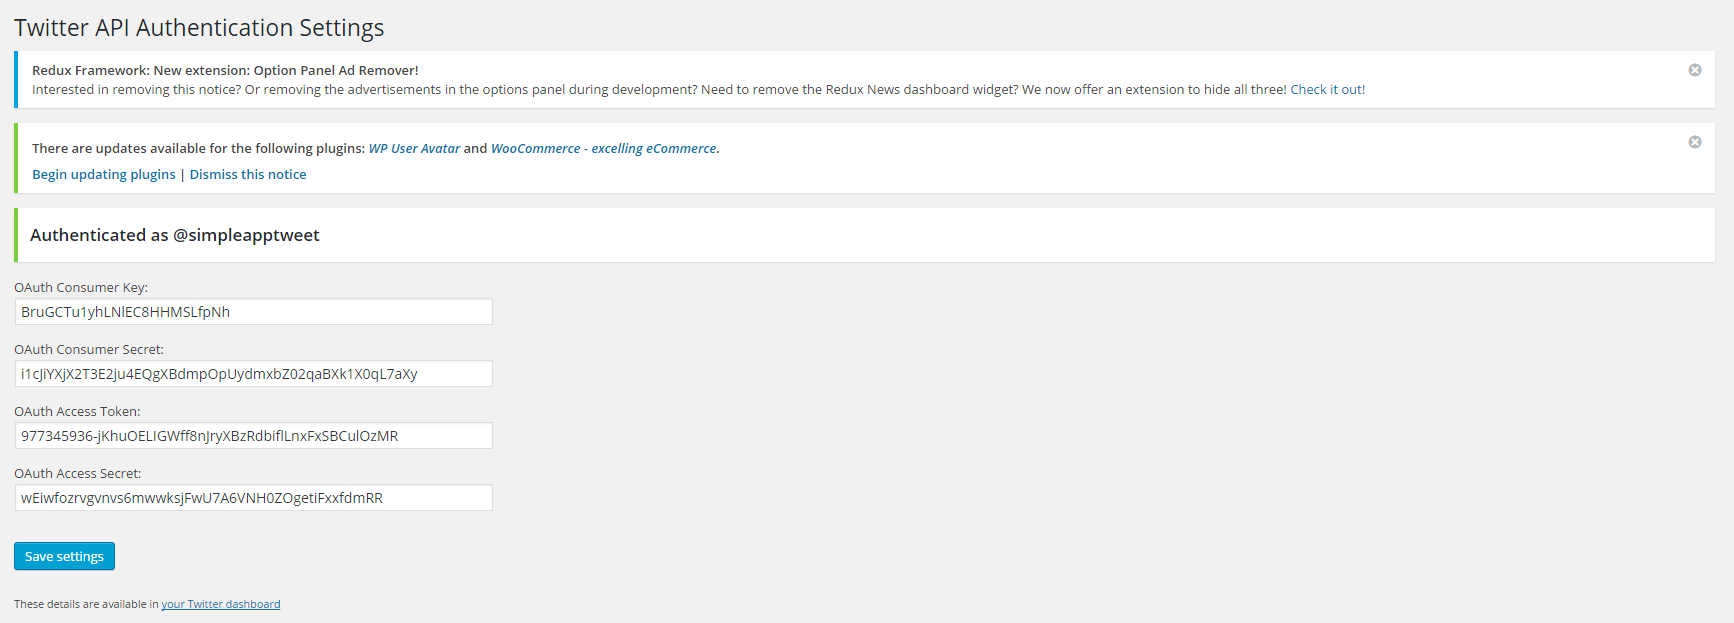
- Illusion twitter Feed
This plugin used to get your twitter images based in your twitter User ID and Access token
In order to add User ID and access token of your twitter account, click Settings > Twitter API in admin sidebar
Once Required Plugins are configured, you may be interested to install sample content as our demo sites. In the next section, we will guide you about demo installation.
1.5 Demo Installation
- Traditional Method
Click Illusion option in the top of admin page or in admin sidebar to access Illusion options.

In "demo" tab, you will find option for import demo.

- Import Dummy Content
Click Import in Import Dummy Content.
If the process of import demo is failed, we suggest you to increase max_execution_time in php.ini.

- Import Demo
After finishing process of importing widget, you should select demo. Please read the message and click OK.
- Alternative Method
Remember that your site database will reset entirely after using this method.
Please follow steps lised below to import demo.
- Step 1: Install and activate All-in-One WP Migration plugin to use this method.
- Step 2: Download Demo backup file.
- Step 3: Upload backup file to wp-content/ai1wm-backups folder.
- Step 4: Navigate to All-in-One WP Migration > Backups on admin sidebar
.
- Step 5: Click Restore button and wait for few seconds. You will see success message after click continue.
- Step 6: Login to the site with account: Username: admin, Password: admin. After login with this account, you can change username and password back to your credentials.
- Step 7: If you want to change demo version, you should select demo in Theme Options > Import Demo > Import Demo on admin sidebar. Please read the message and click OK.
2. Build Your Site
2.1 Build Your Site
- Before Build Your Site
You need to configure WordPress and the plugins.
Please read carefully Theme Installation / Plugin Configuration before perform these follow configurations.
2.2 WP Configuration
- WordPress Configuration
You can adjust WordPress settings as follows:
You can set Site Title in Settings > General in admin sidebar.

-
In Settings > Reading page, You can set number of posts to show in blog pages and select page for Front Page and Posts Page .

-
Discussion settings in Settings > Discussion provide a lot of options for you to explore such as "Default article settings", "Other comment settings".

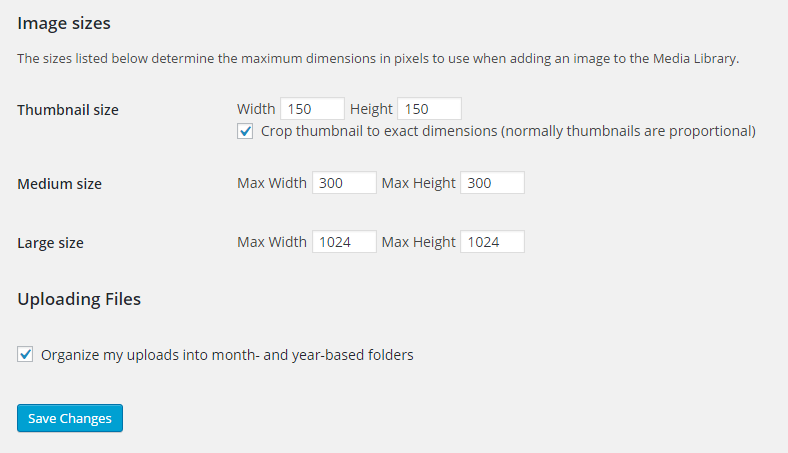
-
You can change Image sizes in Settings > Media.
-
You should ensure that a non-default permalink setting is selected, e.g. Month and name in Settings > Permalinks.
2.3 Theme Options
Illusion provides several usefull options for you to explore. You can find all options after clicking Illusion links in the top page or in the admin sidebar.

You can see Theme Options for more details.
2.4 Menu Setup
Illusion provides 2 areas of the theme where you can assign a menu.
- Primary Menu
- Footer Menu

- Add Menu
In order create new menus, you can navigate to Appearance > Menus in admin sidebar then click Create a new menu links. Give your new menu a name and click "Create Menu" button.

After that, you can select menu location for your menu in Menu Settings.

3. Theme Options
Illusion provides many options for you to customize your page effectively. These options are organized into logical tabbed sections which will be very easy for you to navigate. Because of the sizable amount of options, we cannot go over them in full detail here in our documentation. We encourage you to please take some time and navigate through each tab to see what we offer. Go to Theme Options on admin sidebar to access the setting options. See below for screenshots and short descriptions of Illusion Options panel.
3.1 Theme Options
There are 2 ways to access theme options.
1) Click Illusion links in the top of page.
2) Click Illusion in admin sidebar.

After that, you will see a logical tabbed sections including a lot of tabs for you to discover.
-
Basic setting- You can change logo and favicon icon in here.
-
Contact Info - You can change address, phone number, email, skype.
-
Social Networks - You can change links for facebook, twitter, LinkedIn, Behance and Dribbble in this section.
-
Style Option - General, these options allow you to change font color, font family, color and background hover and add more style css for your web page.
-
Typography - These option allow you to change style font for tag html h1, h2, h3, h4, h5, h6.
-
Header - These options affect your website's header. It allows you to select layout default header, social display on header...
-
Footer - These options affect your website's footer. It allows you to customize your website's footer as well as copyright text.
-
Page - These options allow you to configure page layout.config page 404.
-
Blog - These options allow you to configure layout settings for Blog & Single Post pages.
-
Portfolio - These options give you several great options to customize Portfolio Archive Page and portfolio detail page.
-
Shop - This tab contains several choices to change apperance of your product listing page, single products page.
3.2 Basic
- In this tab, you can choose different layouts for your page including: Boxed or Full width. Besides, you can decide to show sidebar or not and place sidebar in the left or right of the page. Along with some layout options, you can select to show/hide sidebar as well as page title.
- illusion also allow you to upload your desire logo and favicon.


- Option menu, show and hidden sidebar on devices, google analytics .

3.3 Contact Info
You can change address, phone number, email, skype.

3.4 Social
These options let you enter social links for Facebook, Twitter, Googleplus, Pinterest, Dribbble, Flickr, Youtube, Vimeo and Linkedin.

3.5 Style option
General, these options allow you to change font color, font family, color and background hover and add more style css for your web page

-
Style header
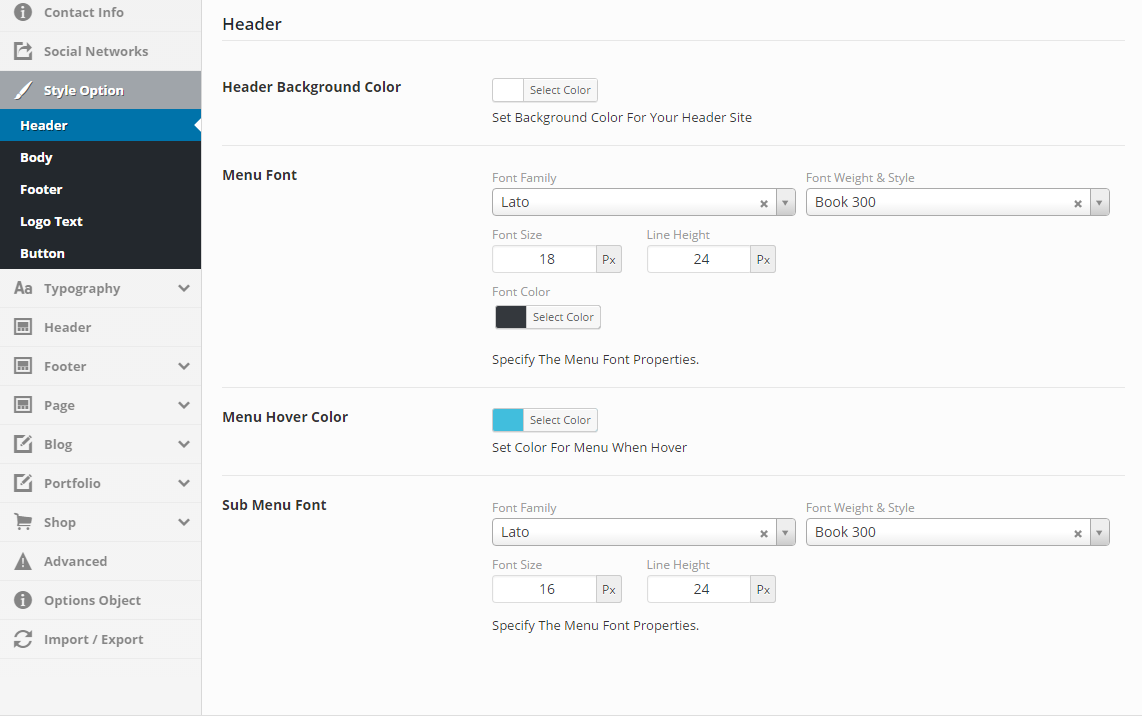
-
Style body

-
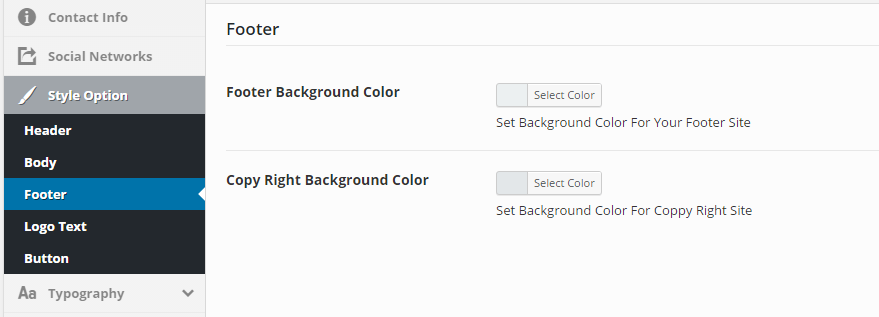
Style footer
-
Style logo text

-
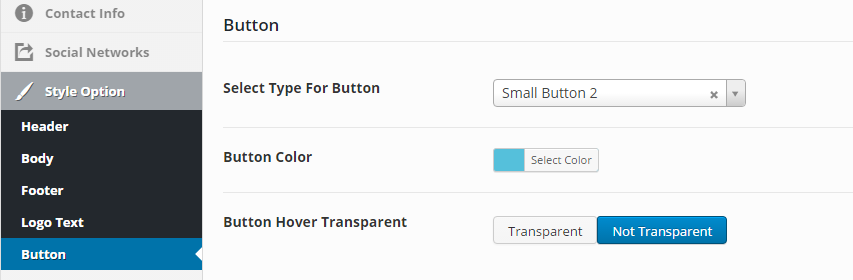
Style button
3.6 Typography
- These option allow you to change style font for tag html h1, h2, h3, h4, h5, h6.

3.7 Header
- These options affect your website's header. It allows you to select layout default header, social display on header...

3.8 Footer
- These options affect your website's footer. It allows you to customize your website's footer as well as copyright text.
-
Footer top

-
Footer bottom

-
Footer copyright

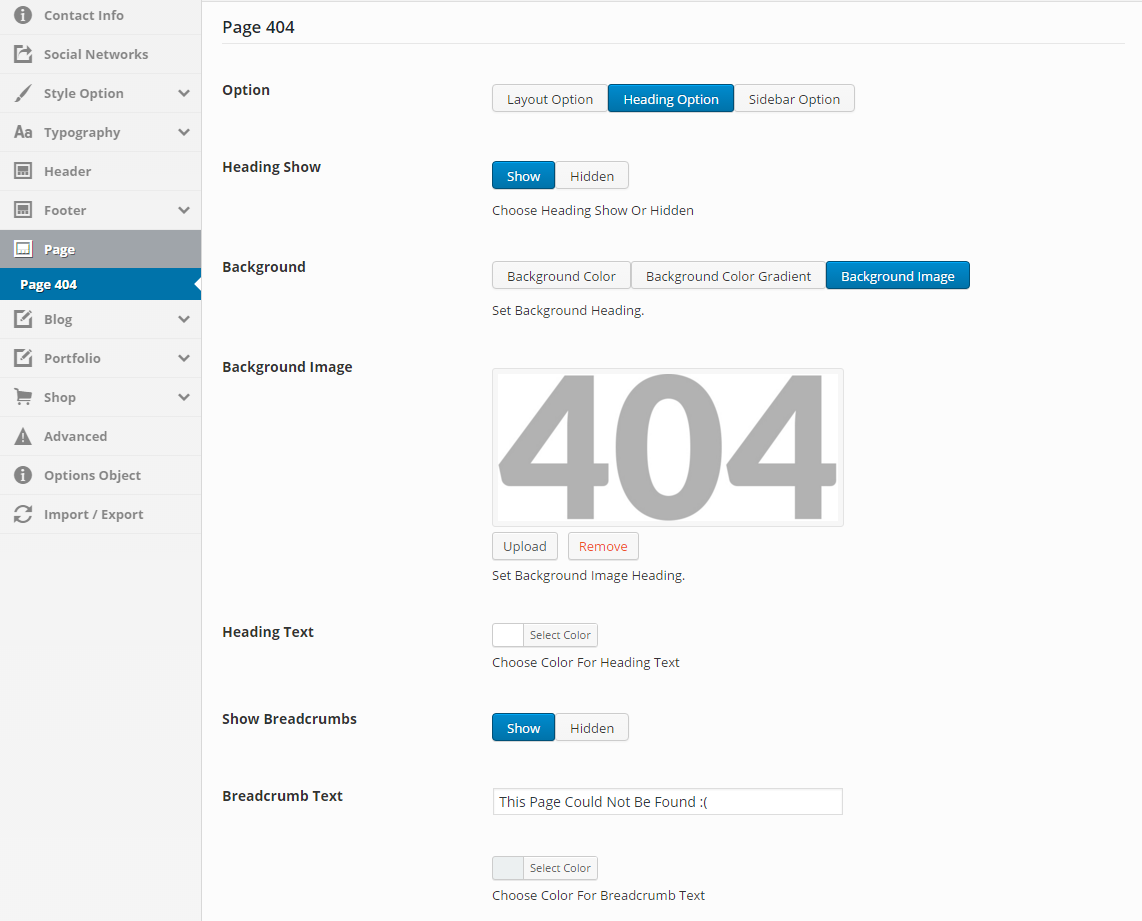
3.9 Page
These options allow you to configure page layout.config page 404.

Option page 404.
3.10 Blog
Illusion gives you multiple selections for blog and single post.
<Categories: option layout categories blog, layout show fontend.

Post List Setting: limit excerpt count show on page blog.

Blog post: allow config show or hidden meta value post, social.

3.11 Portfolios
Illusion gives you multiple selections for portfolio archive and single portfolio.
Portfolio archive: limit excerpt count show on page blog.

Portfolio single: allow config show or hidden meta value post, social.

3.12 Shop
Illusion gives you multiple selections for shop archive and single product.
Categories: option layout categories blog, layout show fontend.

Post List Setting: limit excerpt count show on page blog.

4. Content Types
To use illusion content type, please ensure that illusion Post Types plugin, which allows you to create some custom post types, is already installed. If not, you can install this by following some steps below.
- Navigate Appearance > Install Plugins on admin sidebar.
- You should select and install illusion post types.
- You should activate this plugin.
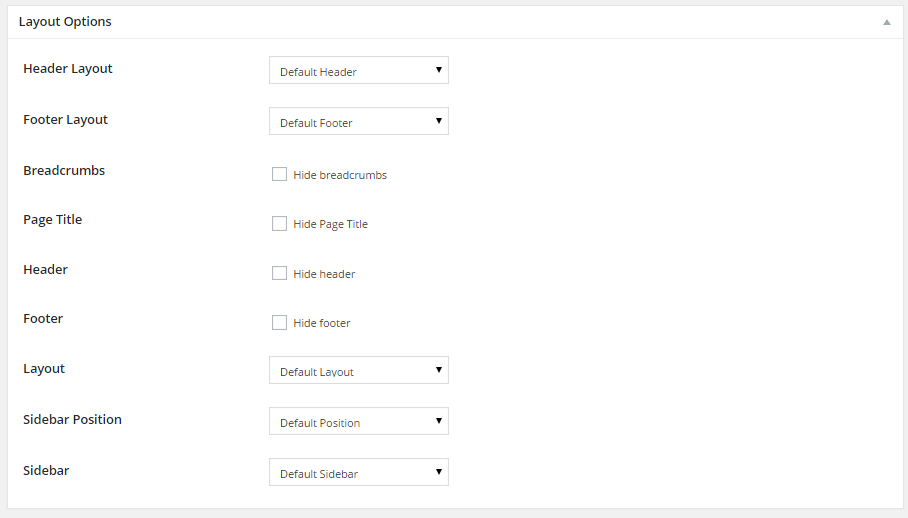
For each content types, illusion provides Layout Options box including a lot of options such as choosing header, footer and page layout.
4.1 Post
- General Information
Illusion provides many options to present your blog posts, along with several different blog layouts. In addition there are numerous Theme Options and Blog Options, Layout Options, Skin Options that allow you to customize how posts are displayed. The illusion blog is very powerful. The following sections will cover each of these aspects of the blog that are listed below.
- Creating / Editing Posts
Step 1 - Navigate to Posts in your WordPress admin sidebar.
Step 2 - Click on the Add New option to make a new post. Create a title, and insert your post content in the editing field.

Step 3 - Select format from the right side. To assign it to the post, check the box next to the format name.

Step 4 - Add Categories from the right side. To assign it to the post, check the box next to the category name.

Step 5 - Add Tags and featur image from the right side. Type the name of the tag in the field, separate multiple tags with commas.

Step 6
- Option laytout for single post

4.3 Block
Creating / Editing block
Step 1 - Navigate to Block in your WordPress admin sidebar.
Step 2 - Click on the Add New option to make a new content. Create a title, and insert your block content in the editing field.
Step 3 - Assign categories from the right side to post.

4.4 Portfolio
- Creating / Editing portfolio
Step 1 - Navigate to Members in your WordPress admin sidebar.
Step 2 - Click on the Add New option to make a new portfolio. Create a title, and insert your portfolio content in the editing field.
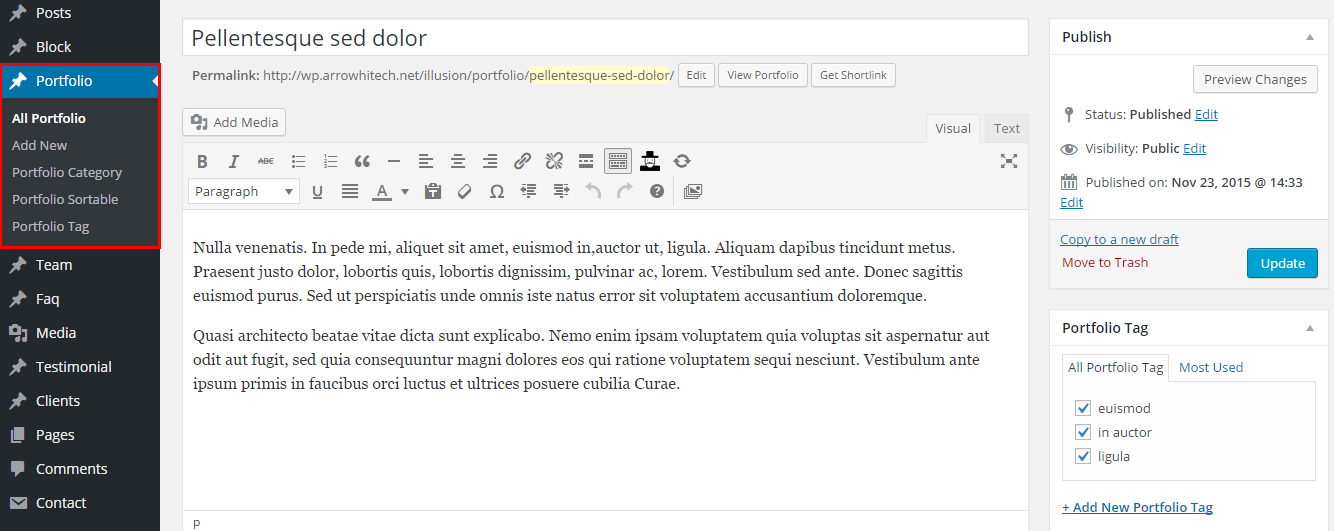
Step 3 - Assign format and categories from the right side to portfolio.

If format is image:

If format is video:

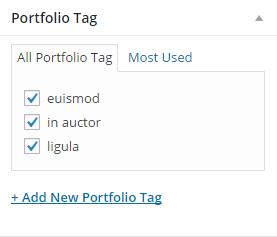
Step 4 - Assign tag from the right side to portfolio.
Step 5 - Assign sortable from the right side to portfolio.

Step 6 - Click the first Featured Image Box, select an image and click the Set Featured Image button.

Step 7 - Option layout single portfolio.
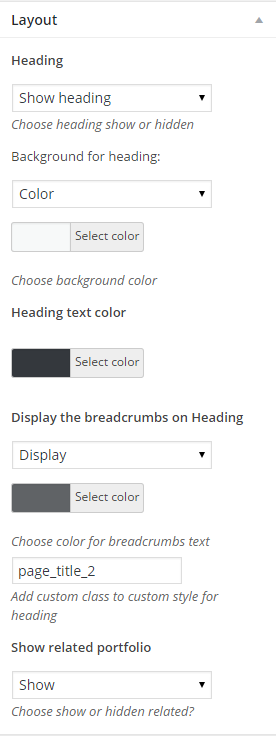
Step 8 - Enter value field other.

4.5 Team
- Creating / Editing team
Step 1 - Navigate to team in your WordPress admin. Click on the Add New option and enter all needed information for testimonial such as title, and content in the editing field.

Step 2 - Assign categories and featured image from the right side to portfolio.

Step 3 - Once you are finished, click Publish or Update to save the team.
4.5 FAQ
- Creating / Editing FAQ
Step 1 - Navigate to FAQ > Add new in your WordPress admin sidebar.
Step 2 - Enter all needed information such as title, and content in the editing field. Also you need to add featured image for FAQ.
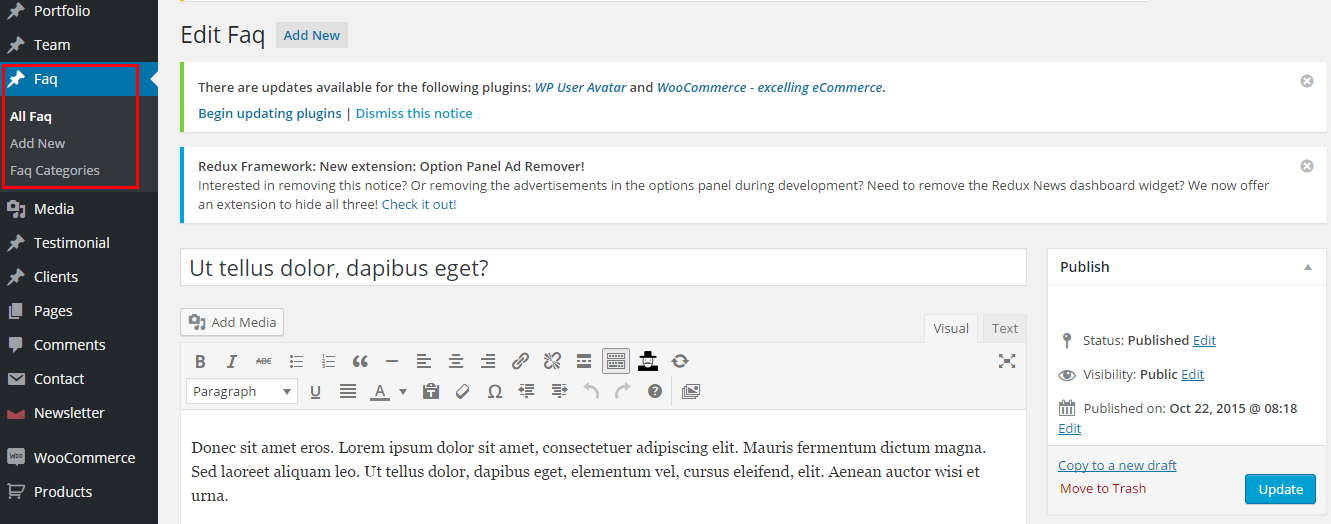
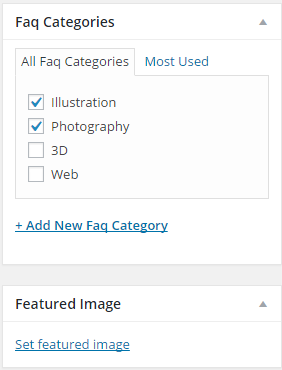
Step 3 - Select FAQ categories and featured image from the right side.
Step 4 - Once you are finished, click Publish or Update to save the member.
4.6 Testimonial
- Creating / Editing Testimonial
Step 1 - Navigate to Testimonial > Add new in your WordPress admin sidebar.
Step 2 - Enter all needed information such as title, and content in the editing field. Also you need to add featured image for tesimoial.

Step 3 - Select featured image from the right side.

Step 4 - Enter value tesimoial from the bottom side.

Step 5 - Once you are finished, click Publish or Update to save the member.
4.7 Client
- Creating / Editing Client
Step 1 - Navigate to Client > Add new in your WordPress admin sidebar.
Step 2 - Enter all needed information such as title, and content in the editing field. Also you need to add featured image for client.

Step 3 - Select featured image from the right side.

Step 4 - Enter value field link client.

Step 5 - Once you are finished, click Publish or Update to save the member.
5. Shortcode
Remember to install and activate Illusion Shortcodes plugin.
- Please go in Appearance > Install Plugins on admin sidebar.
- You should select and install Illusion Shortcodes.
- You should activate this plugin.
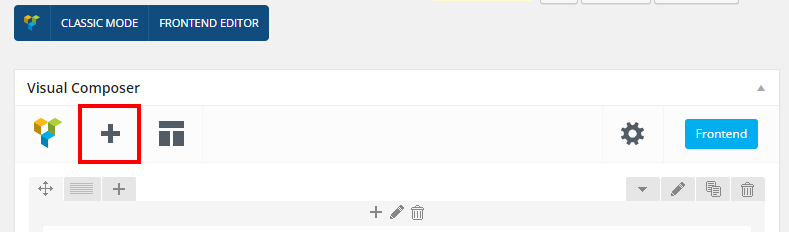
- How to add shortcodes using visual composer
You should enable visual composer editor.
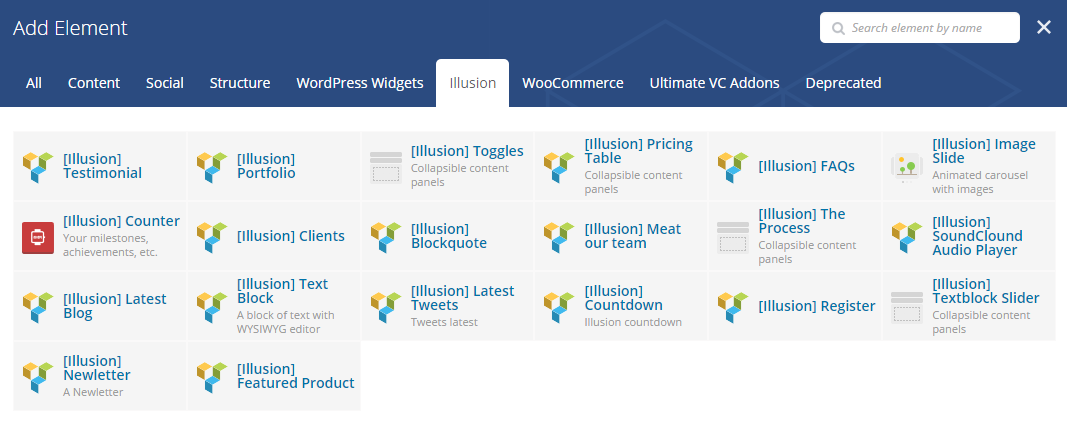
You should select the element. If you click the following button, will be show the popup.
There are several content elements for you to choose.

- WooCommerce
Image below lists a lot of useful shortcodes of WooCommerce such as Cart, Product, Checkout and My Account.

- Illusion Shortcodes
In total, illusion provides a lot of effective shortcodes for you. Besides some general settings for animations such as animation type, item delay and extra class, each shortcodes will contain their own options. Below will list detaily all available choices of each shortcodes.
5.1 Illusion Testimonial
This shortcodes will help you to show testimonial.Type shortcode have to list and slide.
- General


- Name: title shortcode
- Design style: that is change color text and builet if change design style.
- Testimonial type: these are two select ( list and slide ).
- Number item: number item on loop show on fontent.
- Class name: add class if you want style only shortcode to show fontent.
- Typography
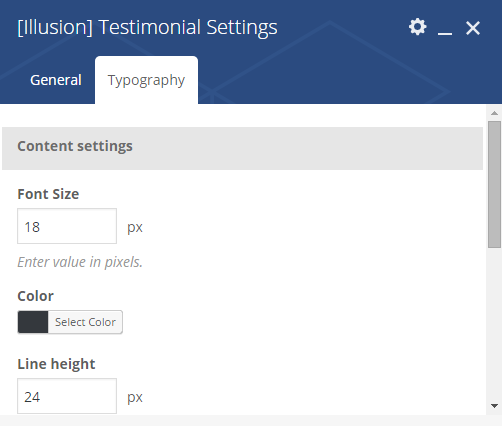

- Config font size, color, line heign content, title shortcode.
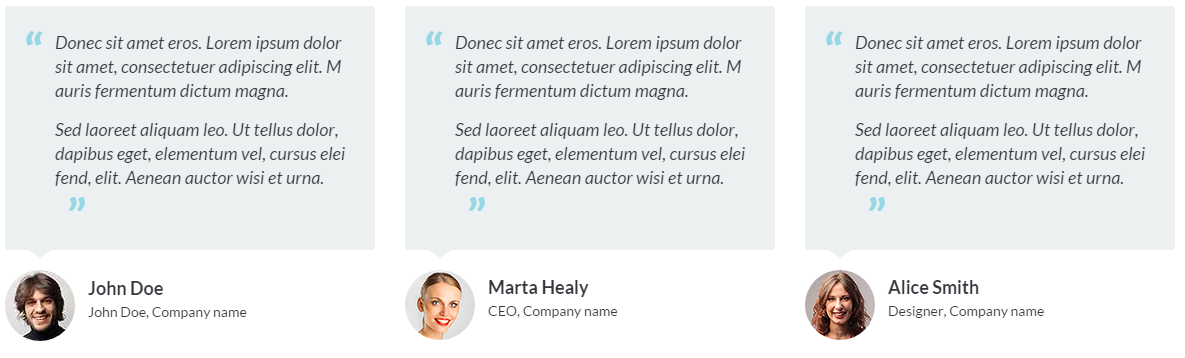
Below is the screenshot of shortcode testimonial:
- Testimonial with slide

- Testimonial with list
5.2 Illusion portfolio
It allows you to display item of portfolio into a slider.

This shortcode lets you:
- Type: normarl, slide, loadmre.
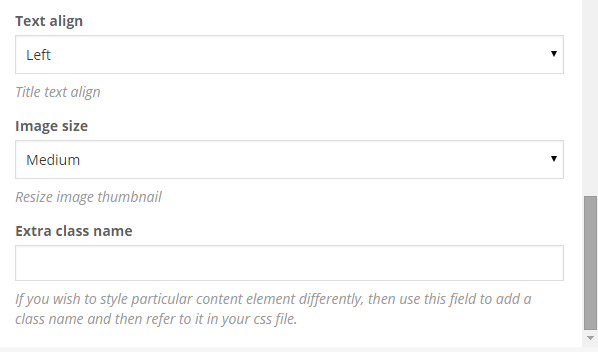
- Description: description shourtcode portfolio.
- Text align: align text shortcode.
- Image size: size image show on fontend.


Option show or hidden item meta data portfolio.
Below is the screenshot of shortcode portfolio:
- Portfolio normal
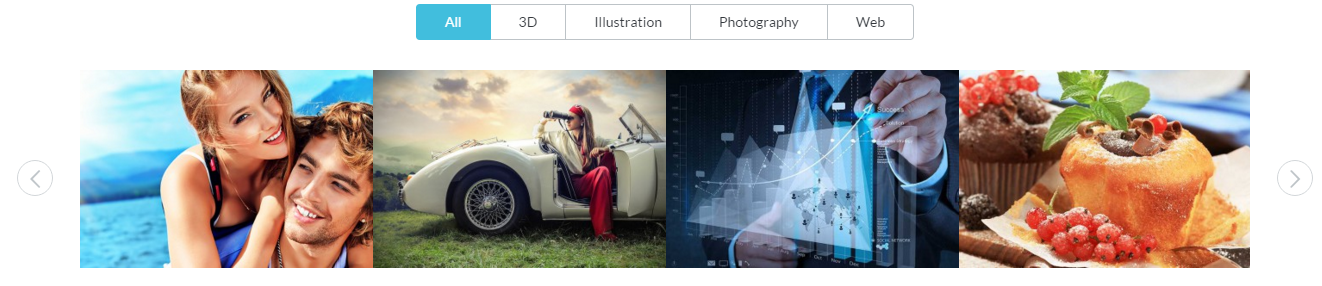
- Portfolio slide

- Portfolio loadmore

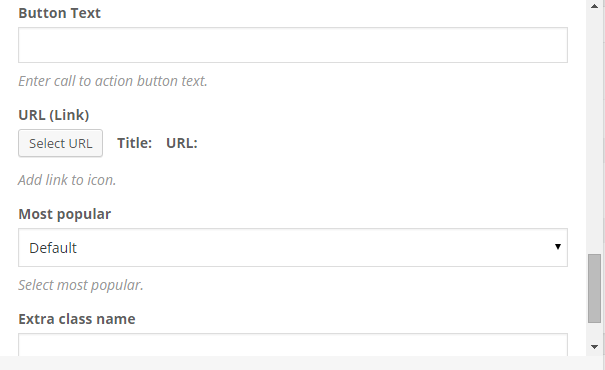
5.3 illusion pricing table
Illusion provides this shortcode for you to display price,content... as a beautiful table column.
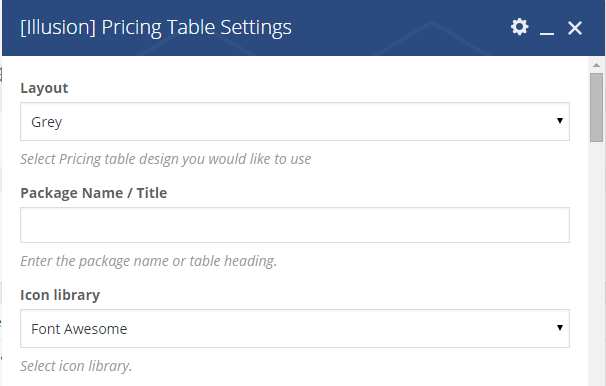


- Layout show fontend: grey and light.
- Package name/title: title table.
- Icon library: select icon table.
- Background icon color
- Price: value price.
- Price unit.
- Description: description table.
- Button text: text in button bottom table.
- URL link: add link for button.
- Most popular: select if show logo top right.
- Extra class name: add more class table.
Below is the screenshot of shortcode pricing table:
- Pricing table light.
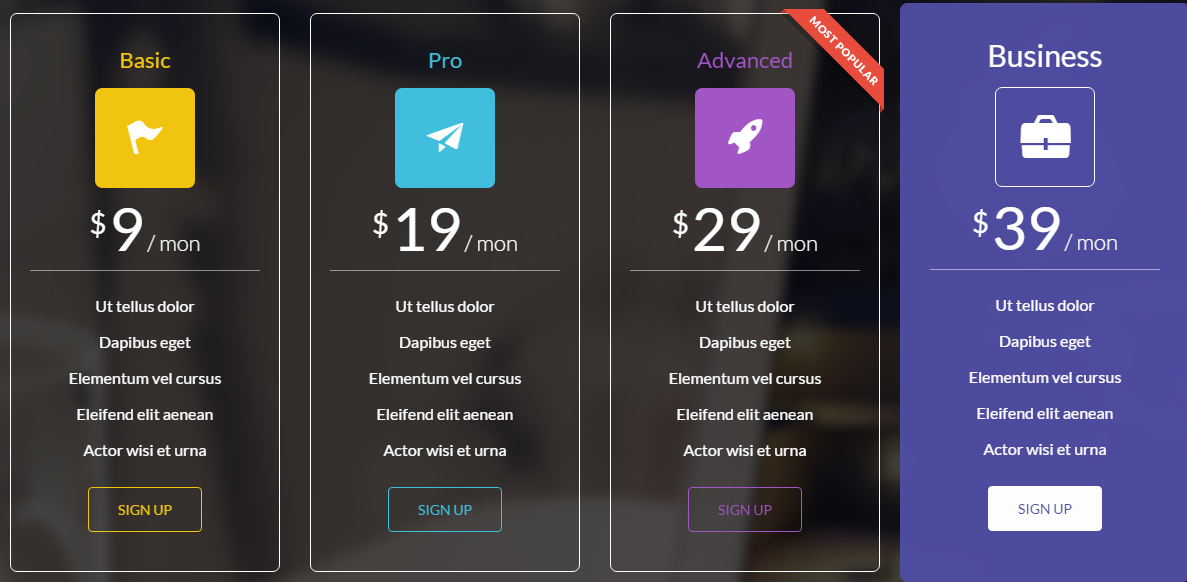
- Pricing table grey.

5.4 Illusion FAQs
This shortcode will display FAQs with title and content get to postype FAQs.

- Change title, sub-title and descriptions.
Below will be screenshot for layout of FAQs.

5.5 Illusion image slider
It helps you to show image layout slider.
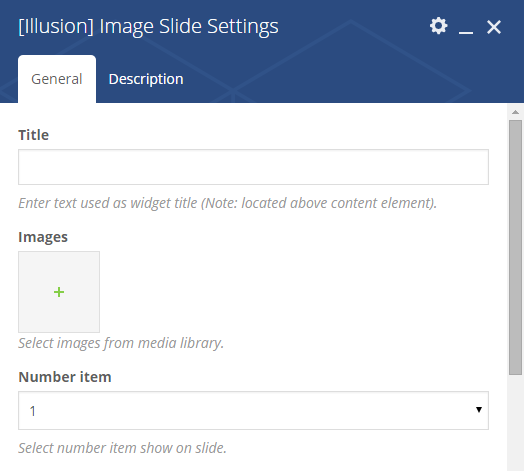
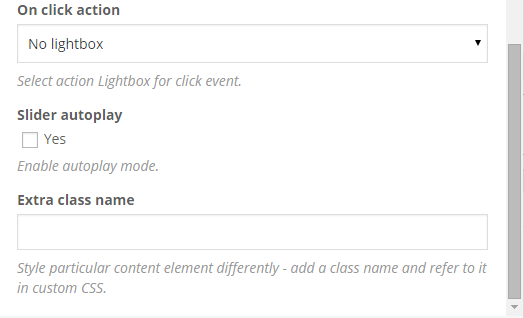

For this shortcode, you also can:
- Update title.
- Select image upload my computer or media gallery.
- Set number of image to show.
- Effect image lightbox or no.
- Effect slide auto play.
- Extra class.
- Description slide.
Below will be screenshot for layout of FAQs.
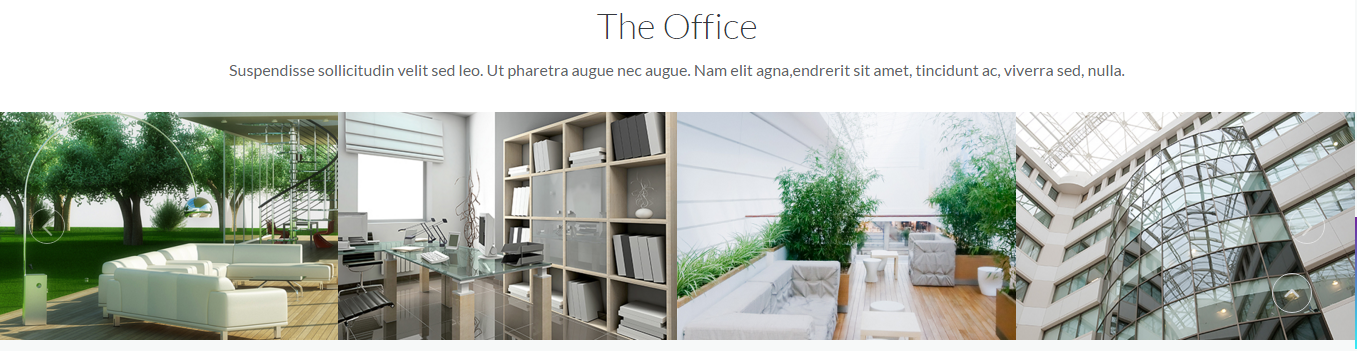
Image show lightbox.

5.6 Illusion counter
In this shortcode settings, you will see 2 options tab named general and typography.
- General: In this tab, there are a lot of options for you such as enter tile, update font icon, color icon, position icon... counter value.


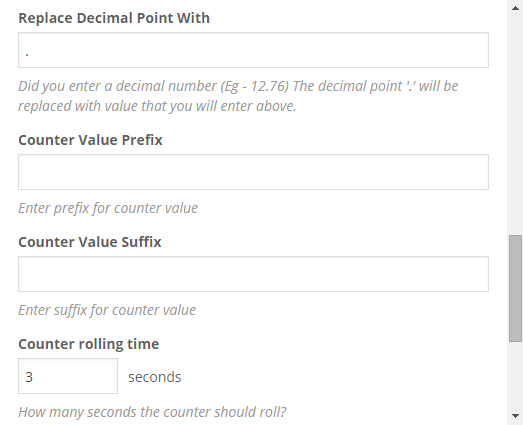
- Select icon from library.
- How big would you like it?
- update color , position icon.
- Update counter value: title, value, Thousands Separator, Replace Decimal, Counter Value Prefix, Counter Value Suffix, Counter rolling time
- Typography: In this tab, there are a lot of options for you such as config font, color...

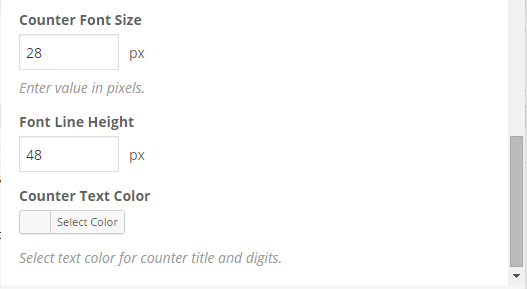
- Counter Title: update font size, color, line height.
- Counter value: update font size, color, line height.
Below will be screenshot for layout of Counter.

5.7 Illusion clients
This shortcode show item on postype client with layout slider normal and full width.


- Update tile.
- Update layout.
- Type color layout.
- Description client
Below will be screenshot for layout of Client.
Client normal:

Client full width:
5.8 Illusion blockquote
This shortocde show content layout blockquote width name author, company, content, image author...


- Update name author.
- Update name business, company, avata author.
- Update layout drark or light.
- Update content, extra class name.
Below will be screenshot for layout of Client.
Layout dark

Layout light

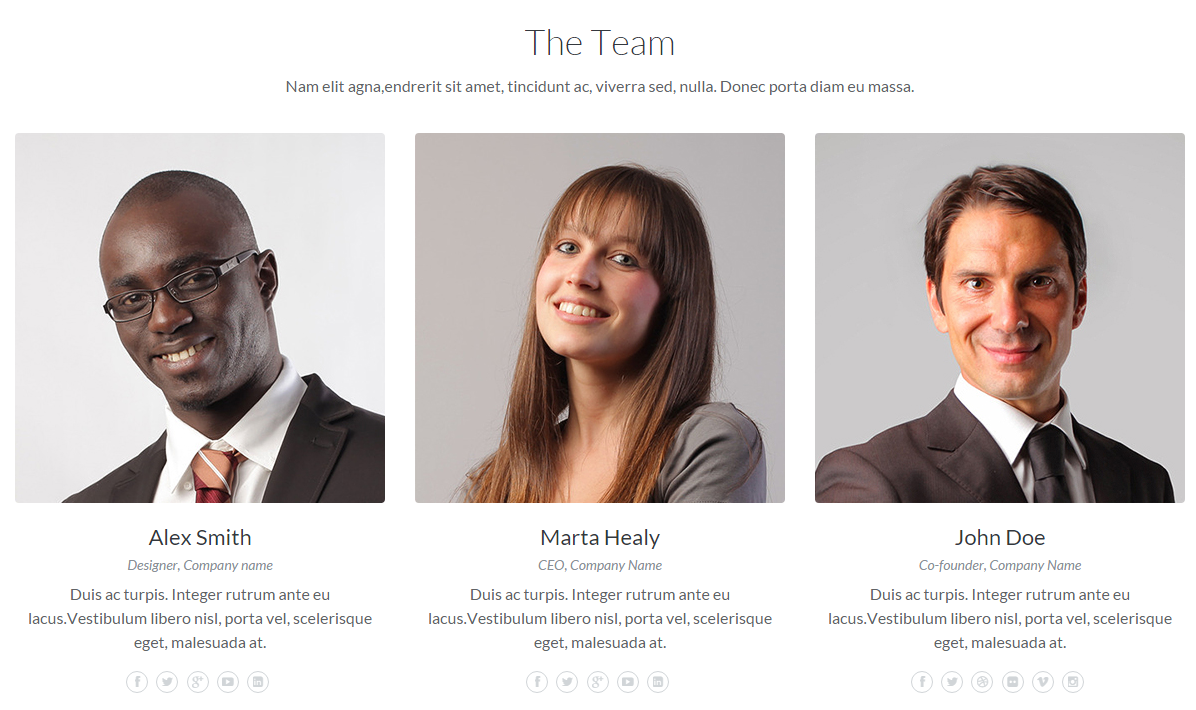
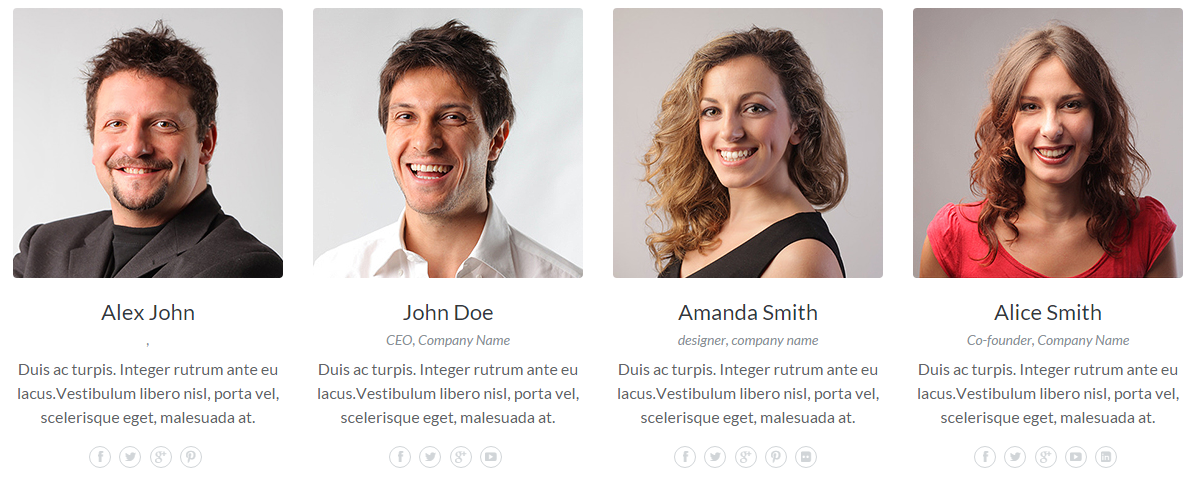
5.9 Illusion Meat our team
These are 2 tab setting.
General:
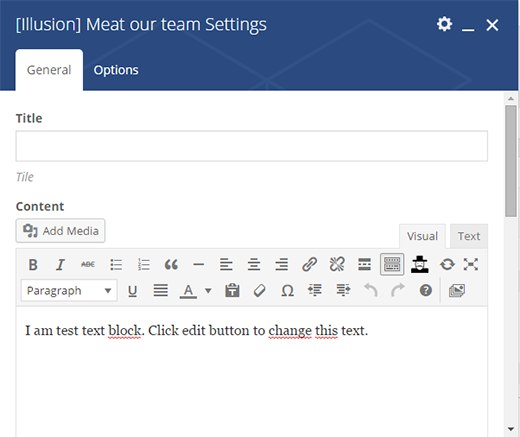

- Enter title.
- Enter description shortcode.
- Select layout.
- Enter slug category the post type team.
- Number item you want show.
- Column layout.
- Extra class.
Options:

- Options hiden name, content, company name, business name, social.
Layout meat our team(2colum, 3 colum, 4 column)

5.10 Illusion process
These are 2 tab setting.
General:

- Add title.
- Select layout ( tab, list ).
- Extra class.
Description:
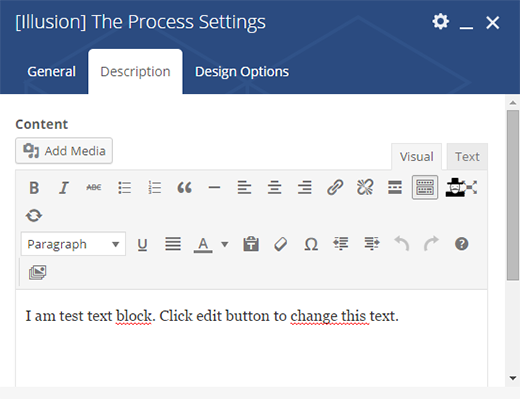
- Enter content description process
Layout process tab

Layout process list

5.11 Illusion soundclound audio
This shortcode will show layout soundclound audio.
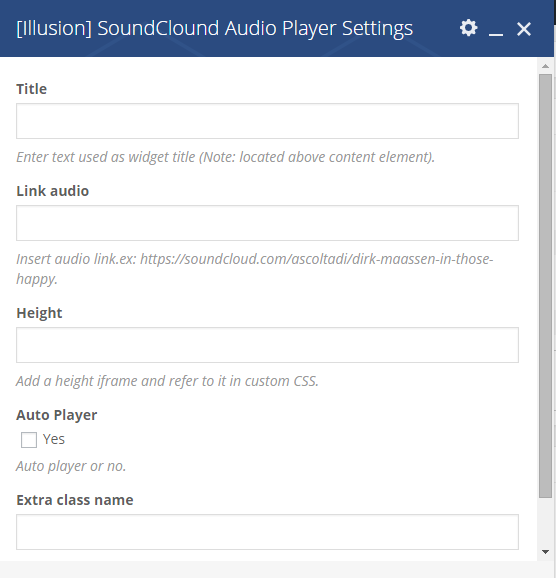
- Add title.
- Add link user soundclound.
- Height layout iframe.
- Player auto.
- Extra name class
Layout soundclound audio

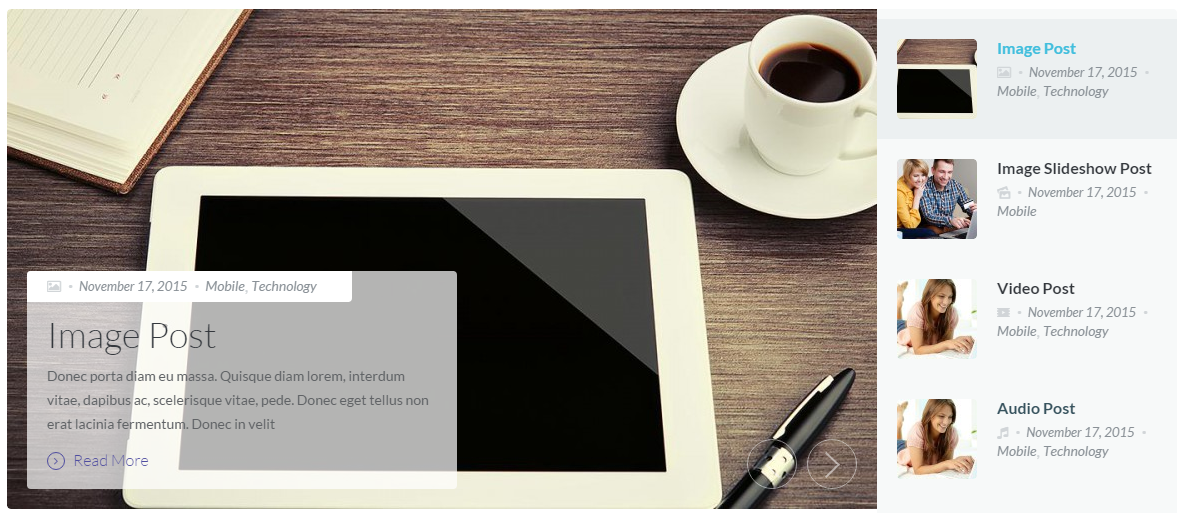
5.12 Illusion latest blog
This shortcode show post blog with layout list all, list by category, list all with slide. list slide with thumbnail.
General:


- Update title, description blog.
- Select layout.
Options:
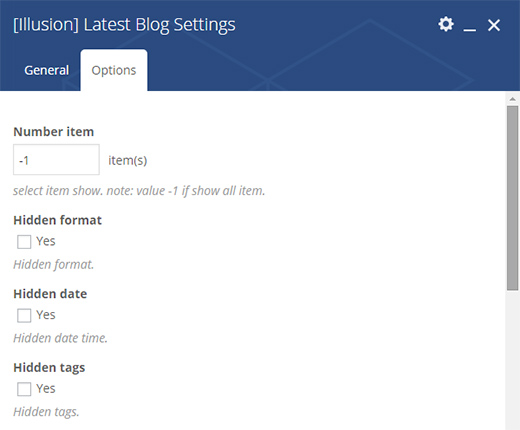

- Number item show.
- Option hiden meta.
List post:

- Layout list: post item show type list with layout column select below.
List post with select category:
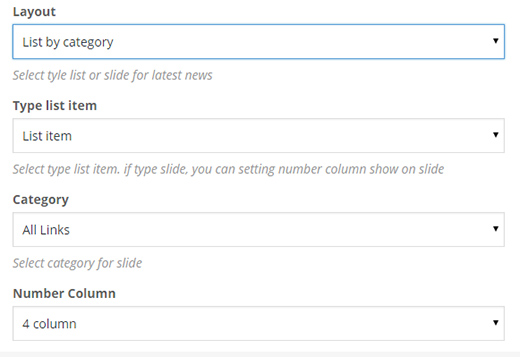
- Layout list post item with select category.
- Number column display fontend.
List post with slide horizontal:

- Layout post item show type slide.
List post with slide thumbnail:

- Layout post item show type slide with thumbnail.
Layout list

Layout list by categories

Layout slide

Layout slide thumbnail
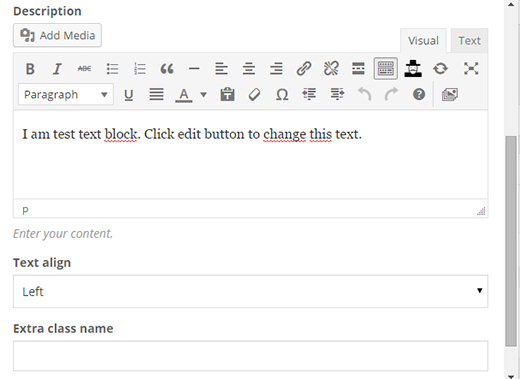
5.13 Illusion text block
This is shortcode custom shortcode text block defaul visual comporser. you can setting icon for ul/li, type content.

- Select type icon for tag ul/li.
- Select type content.
List type if custom

- Select icon in library font.
Layout demo for shorcode text block custom.

5.14 Illusion latest tweets
This is shortcode show latest tweets when you add name user tweeter.
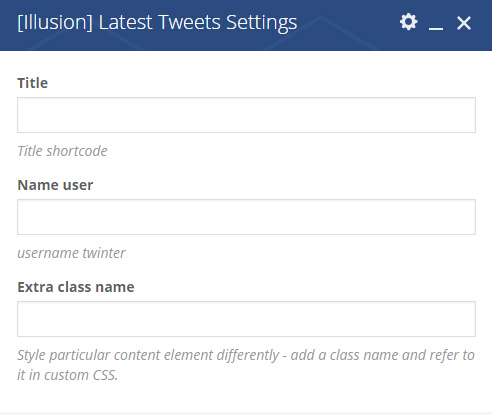
- Add title.
- Add name user tweeter.
- Extra class name.
Layout latest tweets.

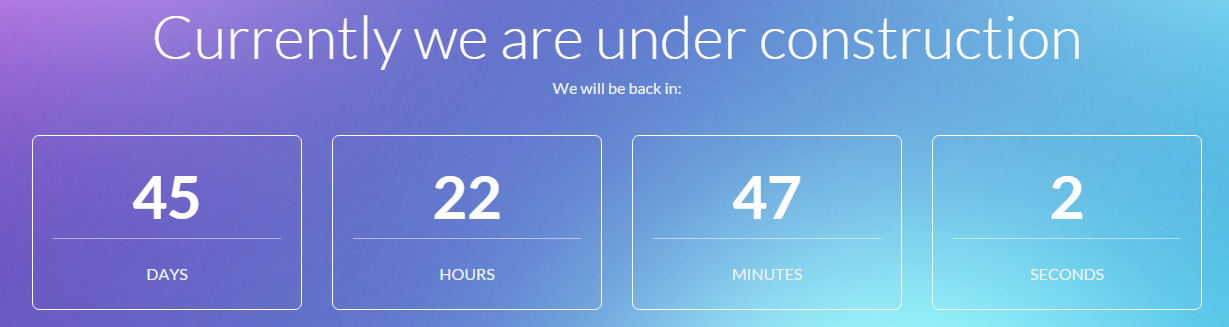
5.15 Illusion countdown
This is shortcode show countdown.

- Add title.
- Choose time countdown.
- Choose Timezone.
- Description countdown.
- Extra class name.
Layout countdown.
5.16 Illusion register
This is shortcode show form register acount.

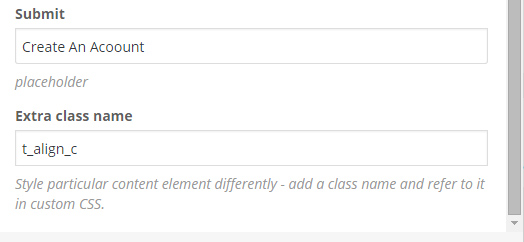
- Add title.
- Add text placeholder email, user, passwold.
- Change text button form.
- Extra class name.
Layout register form.

5.17 Illusion text slide
This is shortcode show content with layout slide. content insert in tab section visual composer.

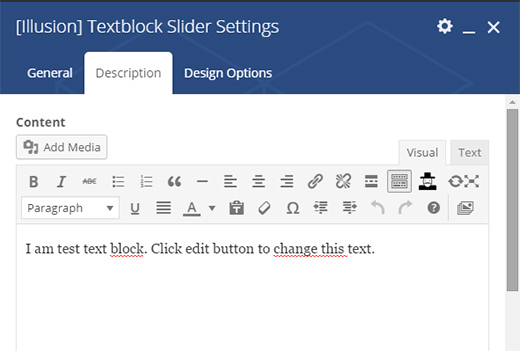
- Add title.
- Add text button.
- Color text in button.
- Background button.
- Tab description add description slide.
Layout add content backend.

Layout text slider.

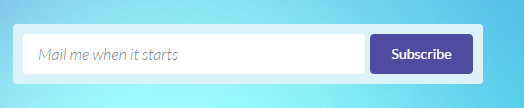
5.18 Illusion newletter
This is shortcode show form newletter fontend.

- Add text placeholder input.
- Extra class name.
Layout form newletter.
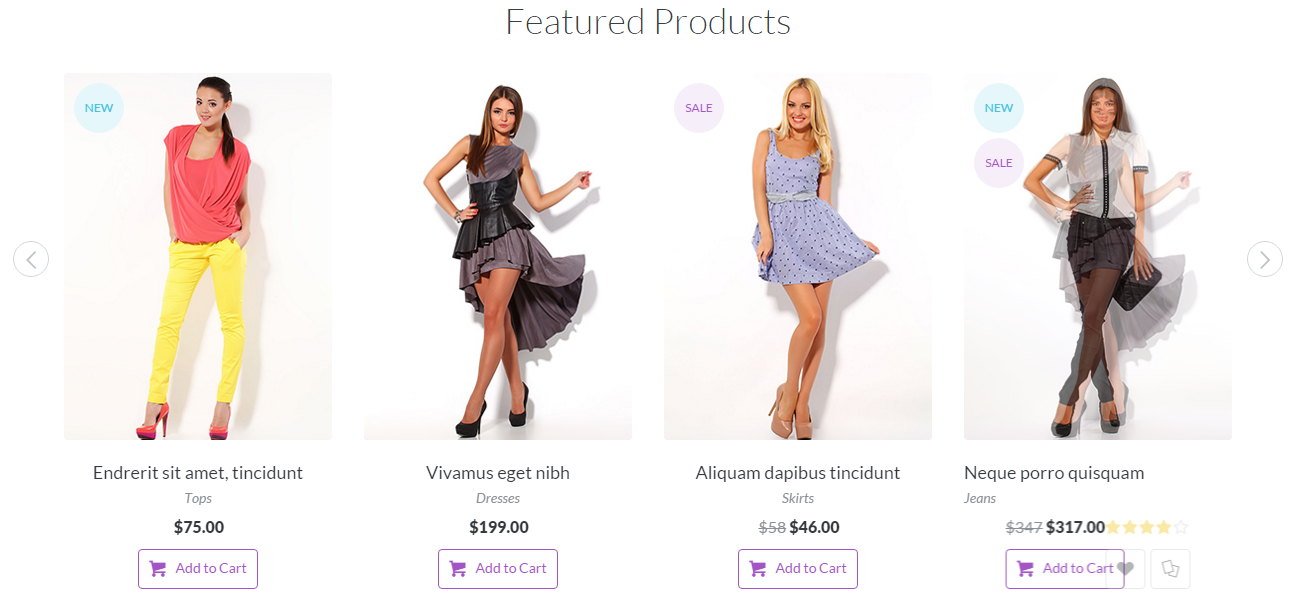
5.19 Illusion feature product
This is shortcode show product feature with slide product.

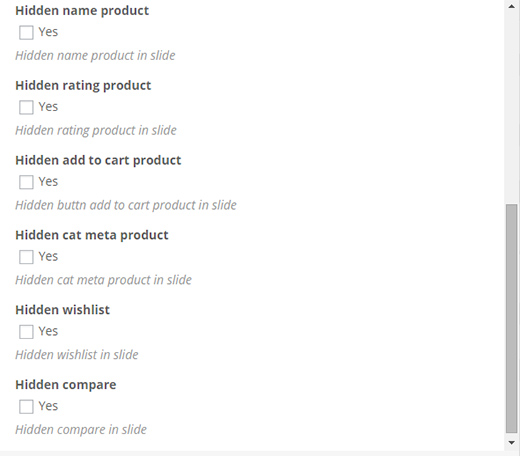
- Add title, description.
- Hide meta data as name, rating, button addtocart...
- Extra class name.
Layout feature product.
6. Widgets
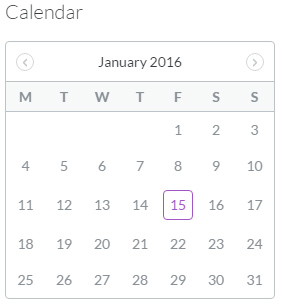
6.1 Illusion Calendar widget
- Please go in Appearance > Widgets on admin sidebar.
- You should add Calendar widget in the sidebar.
This widget provides update title widget.

6.2 Illusion Contact widget
- Please go in Appearance > Widgets on admin sidebar.
- You should add Contact widget in the sidebar.
This widget provides 3 option.
- Display address
- Display phone number
- Display email
- Display skype
- Display layout 1 or 2 column

Contact width 1 column
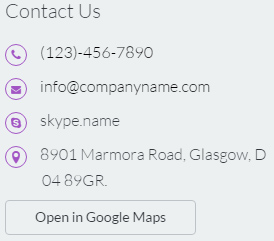
Contact width 2 column

6.3 Illusion Filter Products widget
This widget helps you to filter products into a list all product.
- Please go in Appearance > Widgets on admin sidebar.
- You should add Filter product widget in the sidebar.
This widget provides 5 option.
- Display filter by categories.
- Display filter by price.
- Display filter by color.
- Display filter by manufacturers.
- Display filter by size.


6.4 Illusion Flick widget
This widget helps you to show image flick in library image count flick.
- Please go in Appearance > Widgets on admin sidebar.
- You should add Flick widget in the sidebar.
This widget provides 3 option.
- Add title widget.
- Add id user flick.
- Number image show.


6.5 Illusion facebook widget
This widget helps you to show like page facebook.
- Please go in Appearance > Widgets on admin sidebar.
- You should add Facebook widget in the sidebar.
This widget provides 3 option.
- Add title widget.
- Add link facebook page.


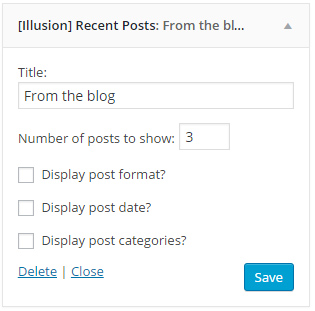
6.6 Illusion Recent post widget
This widget helps you to show post new about post.
- Please go in Appearance > Widgets on admin sidebar.
- You should add Recent post widget in the sidebar.
This widget provides 5 option.
- Add title widget.
- Number item show.
- Display format data.
- Display date data.
- Display categories data.

6.7 Illusion Popular video widget
This widget helps you to show video vimeo and video youtube.
- Please go in Appearance > Widgets on admin sidebar.
- You should add Popular video widget in the sidebar.
This widget provides 2 option.
- Add title widget.
- Add link video (vimeo, youtube).


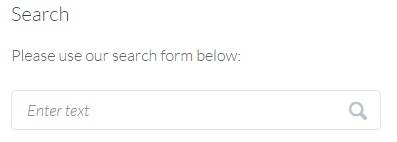
6.8 Illusion Search widget
This widget helps you to show form search post.
- Please go in Appearance > Widgets on admin sidebar.
- You should add Search widget in the sidebar.
This widget provides 2 option.
- Add title widget.
- Add description widget.

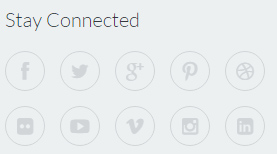
6.9 Illusion Social widget
This widget helps you to show social link get in option theme.
- Please go in Appearance > Widgets on admin sidebar.
- You should add Social widget in the sidebar.
This widget provides 1 option.
- Add title widget.

6.10 Illusion Static block widget
This widget helps you to show item on postype block.
- Please go in Appearance > Widgets on admin sidebar.
- You should add Static block widget in the sidebar.
This widget provides 3 option.
- Add title widget.
- Select item.
- Slect layout item.

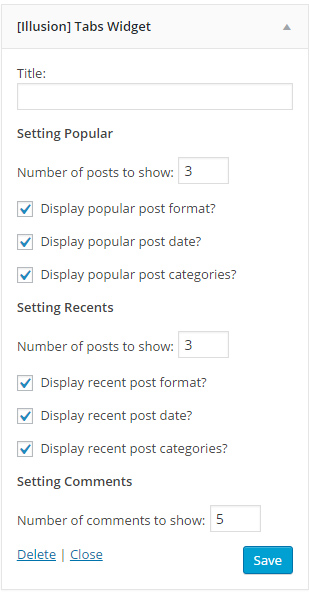
6.11 Illusion Tabs widget
This widget helps you to show post popular, recent post, comment post.
- Please go in Appearance > Widgets on admin sidebar.
- You should add Tabs widget in the sidebar.
This widget provides 3 option.
- Add title widget.
- Option for popular.
- Option for recent.
- Option for comment.

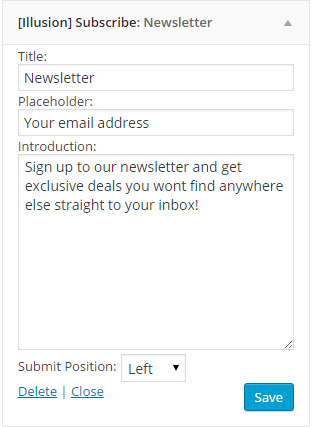
6.12 Illusion Subcribe widget
This widget helps you to show form newletter.
- Please go in Appearance > Widgets on admin sidebar.
- You should add Subcribe widget in the sidebar.
This widget provides 3 option.
- Add title widget.
- Add text placeholder input form.
- Add description.
- Position submit in layout.

6.13 Illusion Tags widget
This widget helps you to show tag in taxonomy.
- Please go in Appearance > Widgets on admin sidebar.
- You should add Tags widget in the sidebar.
This widget provides 2 option.
- Add title widget.
- Set number tag show, default show all.


6.14 Illusion Latest project widget
This widget helps you to show item in post and portfolio.
- Please go in Appearance > Widgets on admin sidebar.
- You should add Latest project widget in the sidebar.
This widget provides 2 option.
- Add title widget.
- Set number post type (post or portfolio).


6.15 Illusion Woocommerce bestseller widget
This widget helps you to show product bestseller.
- Please go in Appearance > Widgets on admin sidebar.
- You should add Woocommer bestseller widget in the sidebar.
This widget provides 1 option.
- Add title widget.


6.16 Illusion Woocommerce releated widget
This widget helps you to show product releated.
- Please go in Appearance > Widgets on admin sidebar.
- You should add Woocommer releated widget in the sidebar.
This widget provides 1 option.
- Add title widget.


6.17 Illusion Woocommerce special widget
This widget helps you to show product special.
- Please go in Appearance > Widgets on admin sidebar.
- You should add Woocommer special widget in the sidebar.
This widget provides 1 option.
- Add title widget.

7. Translation
Use WPML
WPML is the most popular plugin for multi language support. Below you will find documentation their team created for using WPML plugin. If you've purchased WPML and have any questions or issues, please check the links below.
- WPML Plugin - The highly recommended plugin to manage multi-lingual sites
- WPML Forum Support - If you bought WPML then you get free support from their amazing team
- Translating Widgets - Tutorial recommended by wpml team for translating widgets
8. Site Speed Up
We recommend using the WP Super Cache, W3 Total Cache plugins.
Excluding pages from the cache
If using caching plugins, make sure you exclude the following pages from the cache through their respective settings panels:
- Cart
- My Account
- Checkout
- Wishlist
These pages need to stay dynamic since they display information specific to the current customer.