Overview
Knowhere Pro WordPress Theme Documentation v1.0
Version: 1.1
Author: mad_velikorodnov.
Designed by: http://themeforest.net/user/mad_velikorodnov/
Welcome to Knowhere Pro!
We would like to thank you for purchasing Knowhere Pro Directory WordPress Theme! We are very pleased you have chosen Knowhere Pro Wordpress for your website, you will be never disappointed! Before you get started, please be sure to always check out this documentation. We outline all kinds of good information, and provide you with all the details you need to use Knowhere Pro WordPress Theme. Knowhere Pro WordPress can only be used with WordPress and we assume that you already have WordPress installed and ready to go.
If you are unable to find your answer here in our documentation, we encourage you to contact us through themeforest item support page with your site CPanel (or FTP) and WordPress admin details. We're very happy to help you and you will get reply from us more faster than you expected.
Thank you, we hope you to enjoy using Knowhere Pro WordPress Theme!
Install WordPress
If you haven't have a working version of WordPress, you need to install it first in order to install Knowhere Pro theme. You can find many instructions to install WordPress in WordPress Codex or the Instructional Video created by Woo Themes. Below are some helpful links for you about WordPress information.
- WordPress Codex - This link provides overall information about WordPress and WordPress installation guide.
- Instructional Video - Guide to install WordPress video created by Woo Themes.
- First Steps With WordPress - Multiple useful topics about WordPress.
- FAQ New To WordPress - Common questions about WordPress.
1. Install Theme
1.1 Installation
- Requirements for Theme
You can click here to find out more about requirements of WordPress.
Below are three requirements for working version of WordPress, php, and mysql.
- WordPress 4.8 or higher.
- PHP 5.6 or higher.
- MySQL 5 or higher.
You also need to make sure that your host can comply with follow requirements. We recommend using WP Engine or Blue Host for all your hosting needs.
- Your web host has the minimum requirements to run WordPress.
- Your host are running the latest version of WordPress.
- You can download the latest release of WordPress from official WordPress website.
- Always create secure passwords for FTP and Database.
- Recommended PHP Configuration Limits
Low PHP configuration limits can cause many issues. When related issues occur, you need increase your PHP limits to a minimum as follows:
- max_execution_time 1800
- memory_limit 128M
- post_max_size 100M
- upload_max_filesize 100M
- max_input_vars 5000
1.2 Theme Installation
- Install new theme manually via FTP Client
In order to add a new Theme to your WordPress installation, follow these basic steps:
- Download the zip package of Knowhere Pro theme in ThemeForest
- Unzip Knowhere Pro.zip package which you can find inside Theme files folder.
- Connect to your FTP server and navigate to the WordPress installation folder. Go to wp-content/themes/ and upload Knowhere Pro folder.
-
Open WordPress admin panel (navigate through web browser to the folder where you have installed the WordPress e.g www.your_domain.com/wp-admin/) and go Appearance > Themes on admin sidebar. Activate Knowhere Pro theme.
- Install Theme via WordPress Admin Panel
-
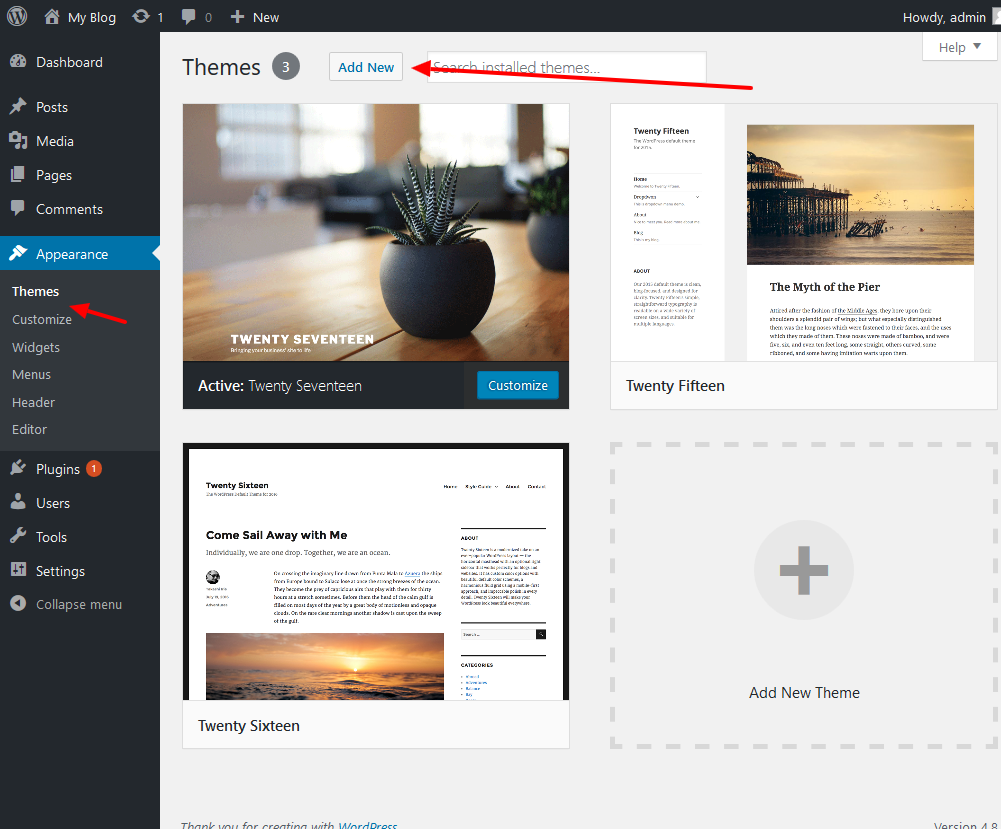
Open WordPress admin panel (e.g www.your_domain.com/wp-admin/) and go Appearance > Themes on admin sidebar and click "Add New" button. After that, click Upload Theme link and upload zip package of Knowhere Pro theme

-
Once uploading theme is finished, it will install theme automatically.
You can click Activate link or go to Appearance > Themes on admin sidebar to activate theme.

-
Once theme is installed, you need to install Required Plugins to get full working features.

Once theme is installed, you need to install Required Plugins to get full working features.
1.3 Theme Activation
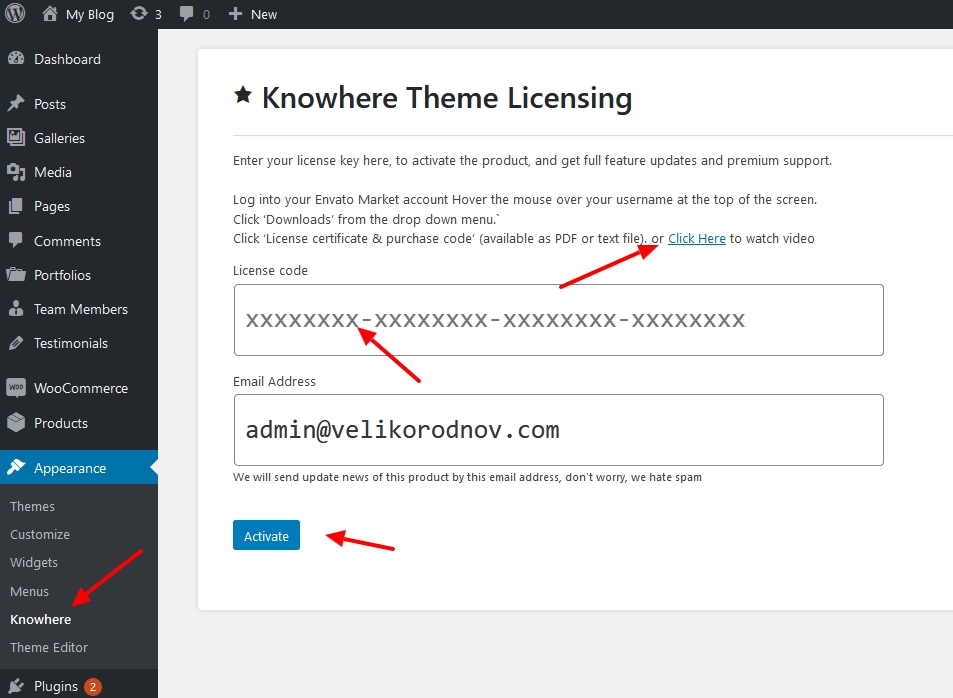
After theme installation you have to activate theme.
Enter your license key here, to activate the product, and get full feature updates and premium support.
Log into your Envato Market account
Hover the mouse over your username at the top of the screen.
Click ‘Downloads’ from the drop down menu.`
Click ‘License certificate & purchase code’ (available as PDF or text file). or Click Here to watch video
If you bought Standard License you can use it on one domain. If you want to move it from one domain to another, deactivate license on current domain and activate it on another. If you have any questions, feel free to contact us here or via private messages on profile page here
After finishing plugin install, you need to configure the plugins.
1.4 Plugins Installation
After installing and activating the theme you will see the following message at the top of the page.
You should click Install plugins link in order to install needed plugins for Knowhere Pro theme.
You will be redirected to Install Required Plugins page, here you will find all of the theme required plugins. In order to install these plugins, you just need to check all of theme and select install then click apply. The picture below will list some required plugins for Knowhere Pro.


After finishing plugin install, you need to configure the plugins.
1.5 Plugin Configuration
- Visual Composer
Visual Composer for WordPress is drag and drop frontend and backend page builder plugin that will save you tons of time working on the site content. You will be able to take full control over your WordPress site, build any layout you can imagine – no programming knowledge required. Moreover, now you can choose either work on a backend or move your page building process to frontend and instantly see changes you make.
You can see here for more details.
- Woocommerce
WooCommerce is the most popular WordPress eCommerce plugin. Packed full of features, perfectly integrated into your self-hosted WordPress website.
You can see here for more details and woocommerce documentation.
- Install Woocommerce Pages
You can see the following message after install woocommerce plugin and you should click Install Woocommerce Pages.

Important! If you want to import dummy data, you can skip to install woocommerce pages.
You can see "Shop", "Cart", "Checkout" and "My Account" pages in Pages on admin sidebar.
- Change Image Sizes
You can change the product image sizes in Woocommerce > Settings > Products > Display > Product Images on admin sidebar.

We used the following image sizes on our demo sites:
- Catalog Images: 360 x 230
- Single Product Image: 750 x 480
- Product Thumbnails: 100 x 100
After change the image sizes, you should regenerate all the thumbnails using Regenerate Thumbnails plugins.
- Enable Registration on My Account
Please go to WooCommerce > Settings > Account > Registration Options and enable registration on the "My Account" page.
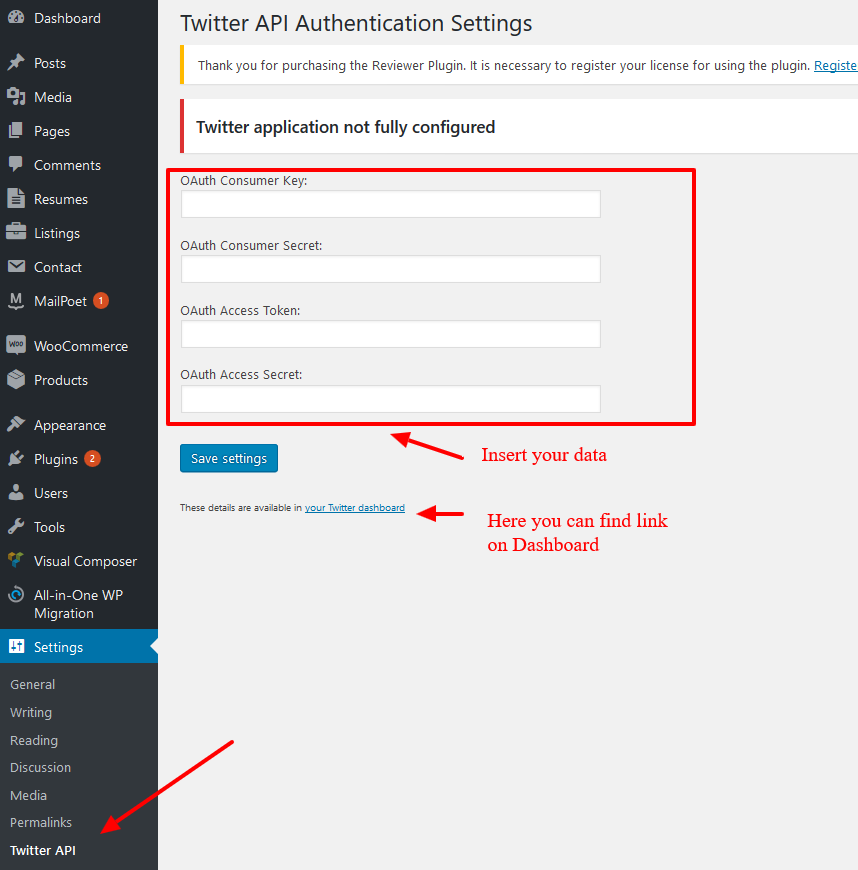
- Knowhere Pro Twitter Feed
This plugin used to get your twitter images based in your twitter User ID and Access token
In order to add User ID and access token of your twitter account, click Appearance > Twitter API in admin sidebar
Once Required Plugins are configured, you may be interested to install sample content as our demo sites. In the next section, we will guide you about demo installation.
1.6 Demo Installation
- Traditional Method
Click Appearance --> Install Demos in admin sidebar and you will find option for import demo.
It takes several minutes.

- Import Dummy Content
Click Import in Import Dummy Content.
If the process of import demo is failed, we suggest you to increase max_execution_time in php.ini.
We recommend:
- max_execution_time 1800
- memory_limit 128M
- post_max_size 100M
- upload_max_filesize 100M
- max_input_vars 5000
- Import Demo
After finishing process of importing widget, you should select demo. Please read the message.
- Alternative Method
Remember that your site database will reset entirely after using this method.
Please follow steps lised below to import demo.
- Step 1: Install and activate All-in-One WP Migration plugin to use this method.
- Step 2: Download Demo backup file.
- Step 3: Upload backup file to wp-content/ai1wm-backups folder.
- Step 4: Navigate to All-in-One WP Migration > Backups on admin sidebar
.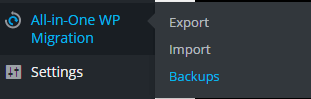
- Step 5: Click Restore button and wait for few seconds. You will see success message after click continue.
- Step 6: Login to the site with account: Username: admin, Password: ghbrjk23.. After login with this account, you can change username and password back to your credentials.
2. Build Your Site
2.1 Build Your Site (if you didn't make our demo import)
- Before Build Your Site
You need to configure WordPress and the plugins.
Please read carefully Theme Installation / Plugin Configuration before perform these follow configurations.
2.2 WP Configuration
- WordPress Configuration
You can adjust WordPress settings as follows:
-
You can set Site Title in Settings > General in admin sidebar.

-
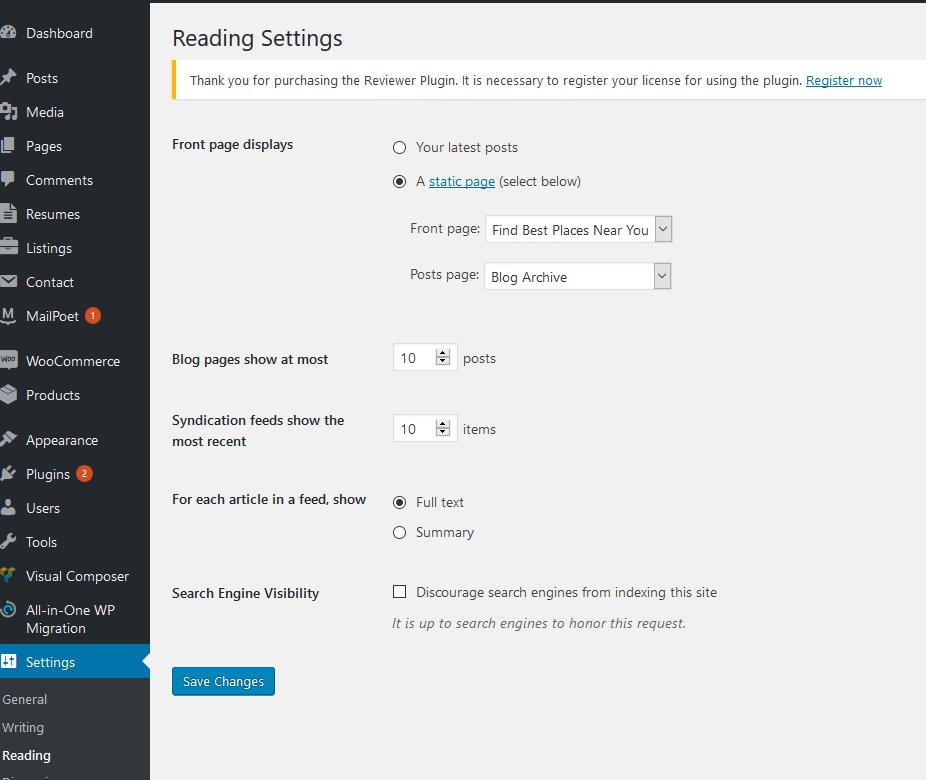
In Settings > Reading page, You can set number of posts to show in blog pages and select page for Front Page and Posts Page .
-
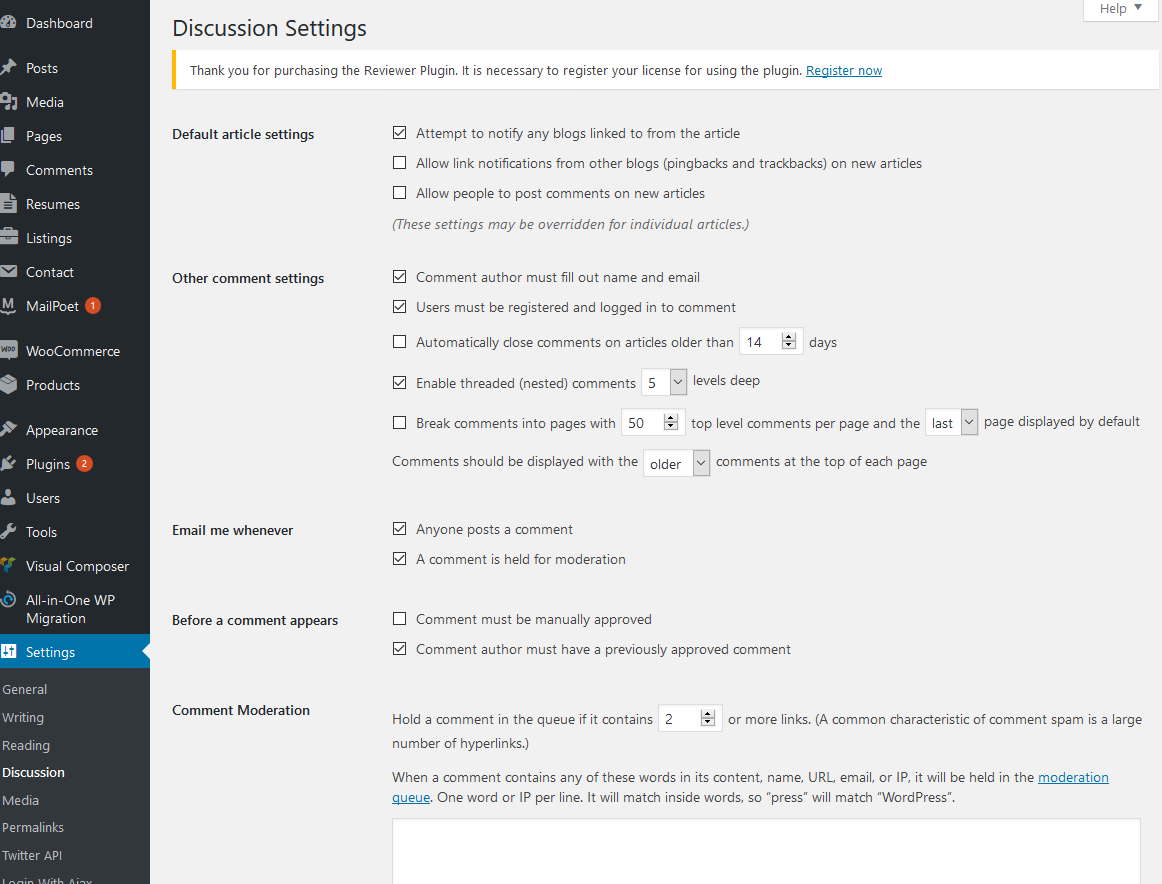
Discussion settings in Settings > Discussion provide a lot of options for you to explore such as "Default article settings", "Other comment settings".
-
You can change Image sizes in Settings > Media.

-
You should ensure that a non-default permalink setting is selected, e.g. Month and name in Settings > Permalinks.
2.3 Theme Options
Knowhere Pro uses Redux Framework with plenty settings
You can see Theme Options for more details.
2.4 Menu Setup
Knowhere Pro provides 1 area of the theme where you can assign a menu.
- Primary Menu

- Add Menu
In order create new menus, you can navigate to Appearance > Menus in admin sidebar then click Create a new menu links. Give your new menu a name and click "Create Menu" button.

After that, you can select menu location for your menu in Menu Settings.

3. Theme Options
Knowhere Pro comes with advanced settings panel that is loaded with options. We have the options organized into logical tabbed sections, and each option has a description of what it will do on the front end. Because of the sizable amount of options Knowhere Pro provides, we cannot go over them in full detail here in our documentation. We encourage you to please take some time and navigate through each tab to see what we offer. Go to Appearance > Theme Options on admin sidebar to access the setting options. See below for screenshots and short descriptions of our Theme Options panel.
3.1 Theme Options
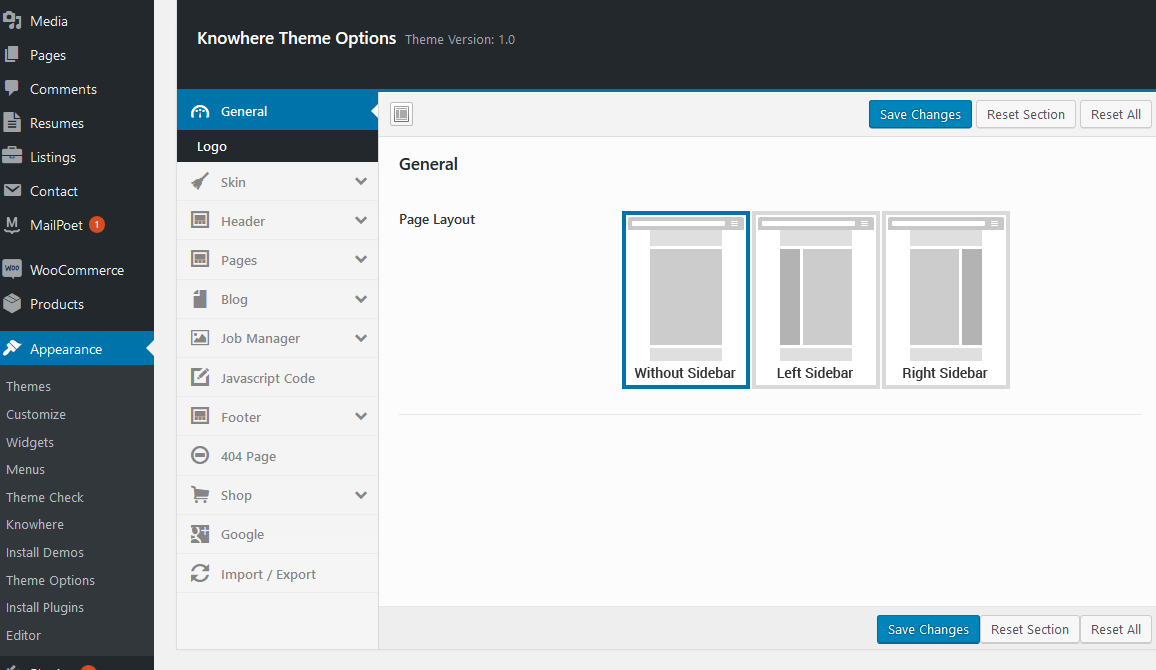
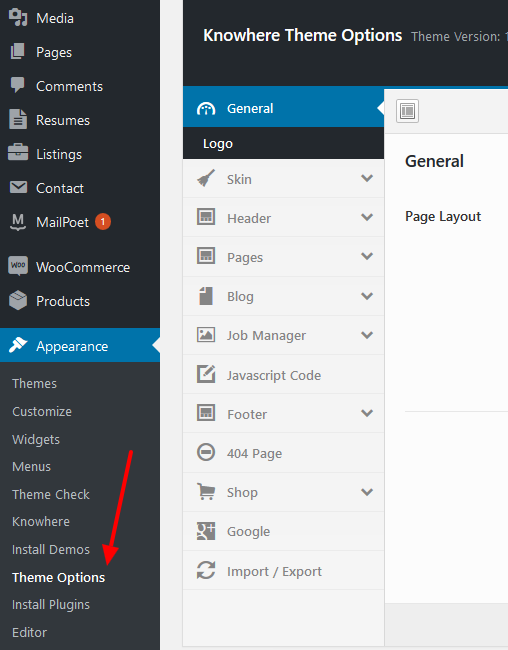
Click Appearance--> Theme Options.
After that, you will see a logical tabbed sections including a lot of tabs for you to discover.

-
General- You can change logo and favicon icon, page layout, default sidebar.
-
Skins - You can change h1-h6 settings, all colors, backgrounds, Main menu styles and add custom css.
-
Header - You can choose Header style, network share icons, show/hide some elements and manage some specific settings for different headers.
-
Blog - These option allow you to switch on/off some blog and post elements like tags, categories, etc and choose sidebar positions for the global Blog and post pages.
-
Job Manager - These options give you several great options to customize Listings and listing details page.
-
Javascript Code - Here you can add your custom js.
-
Footer - This tab allows you to change Copyright and add social button links
-
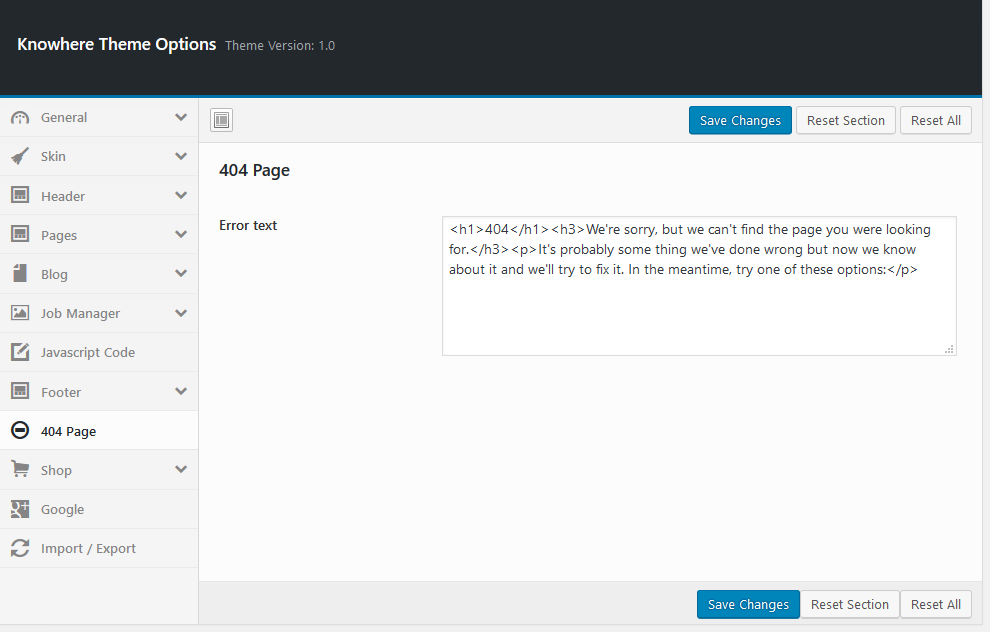
404 Page - Replace texts for 404 page
-
Shop - This tab contains several choices to change settings on archive page, single products page, cart options, etc.
-
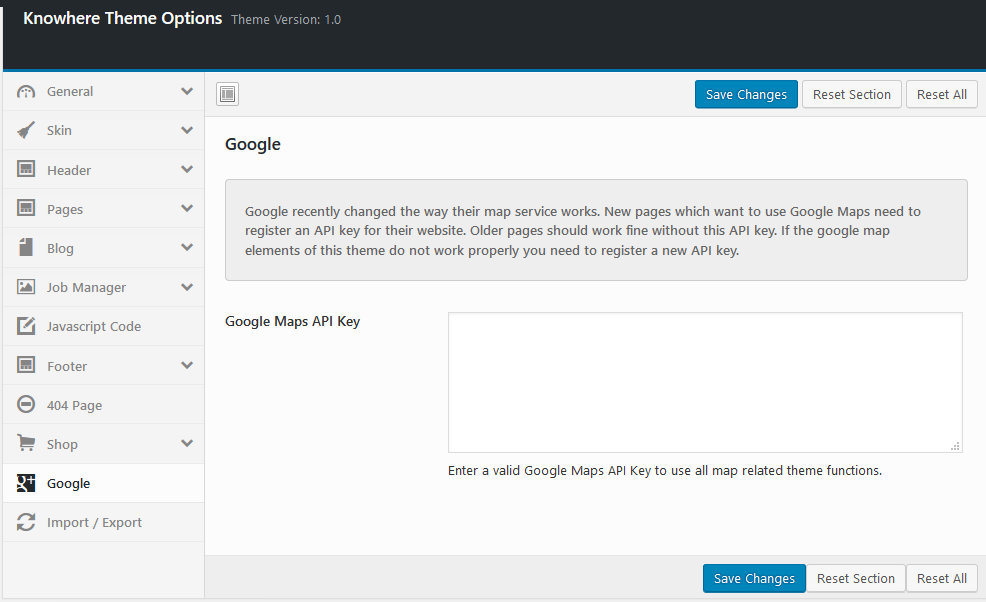
Google - Here you can insert your google map API key https://developers.google.com/maps/documentation/javascript/get-api-key.
-
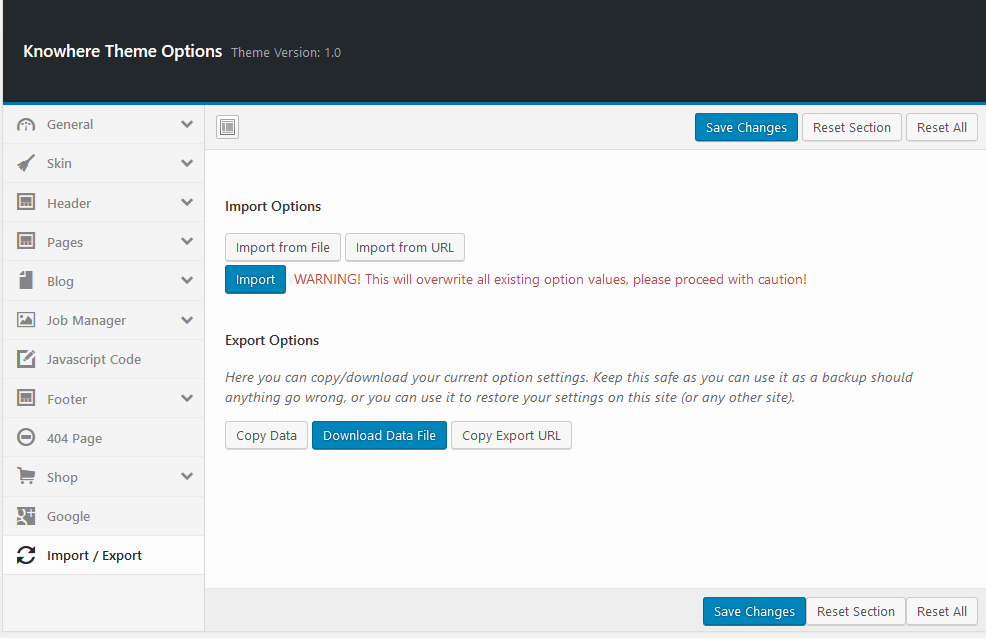
Import/Export - Here you can make import/export demo data.
3.2 General
- In this tab, you can choose default sidebar and position.
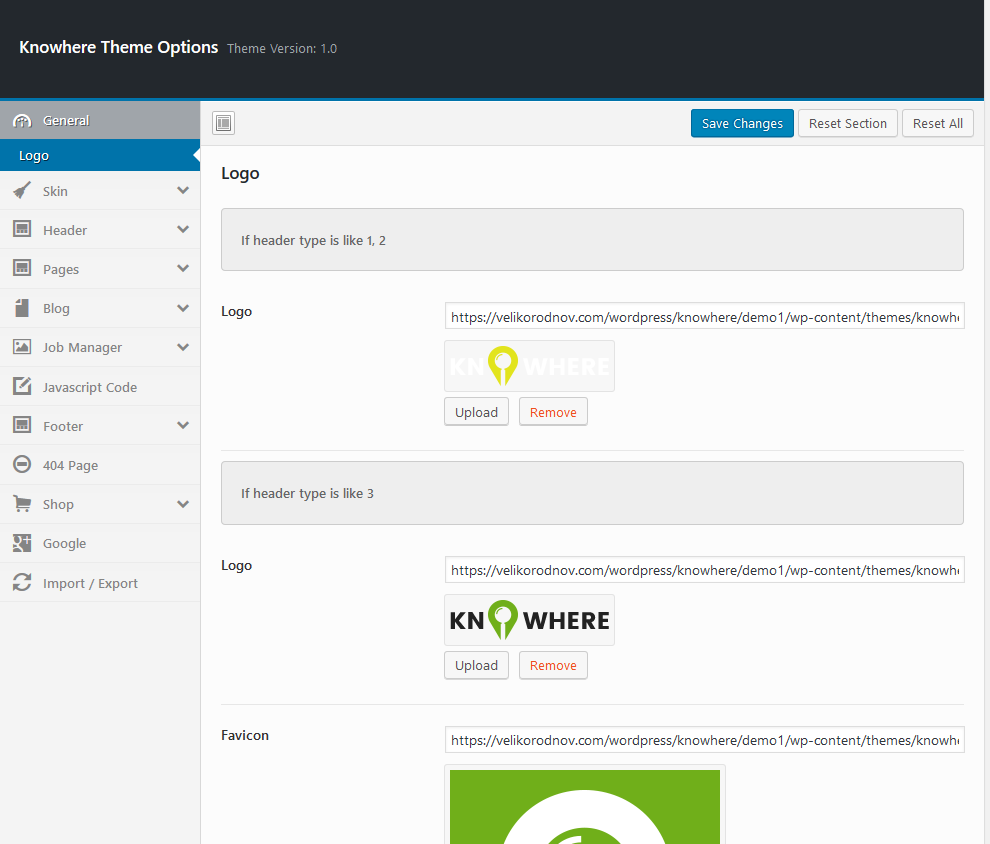
- Logo
Here you can upload Logos for different header types and upload favicon. We have different headers ( black and white). Depends on header you have to use dark or light logo image
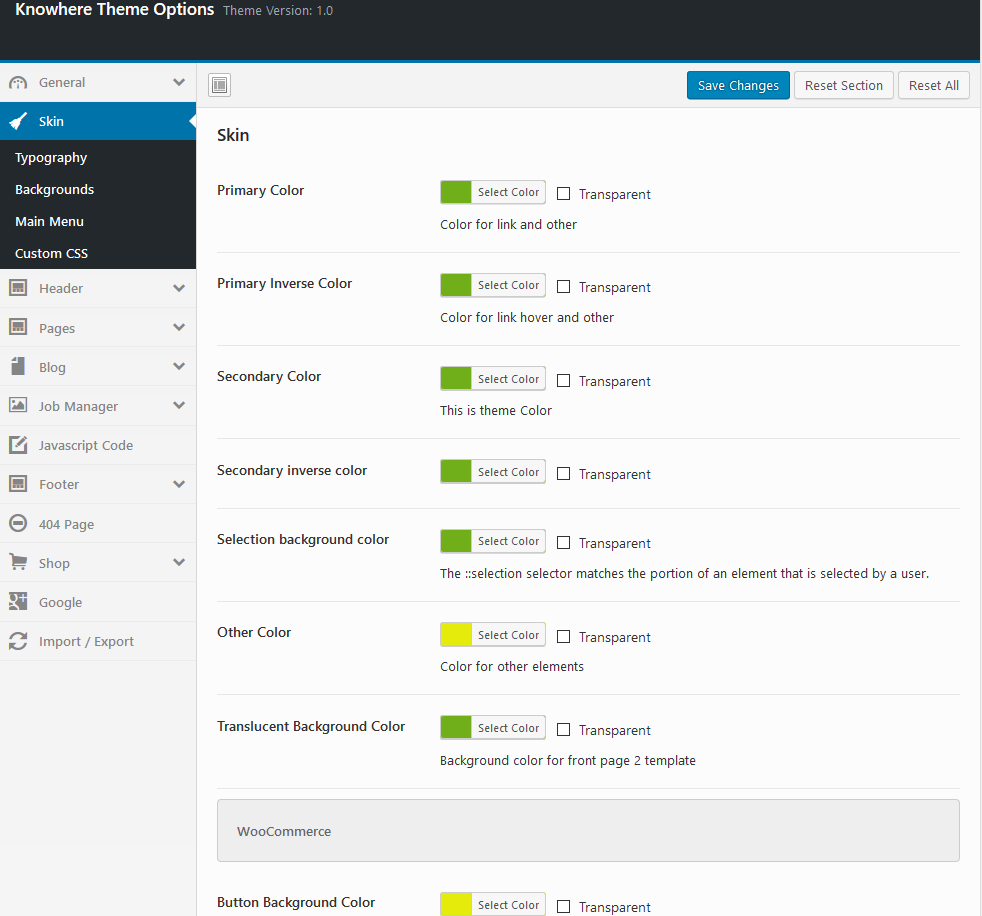
3.3 Skin
You can change primary colors. For sure you can inspect any element and replace color using custom.css by yourself
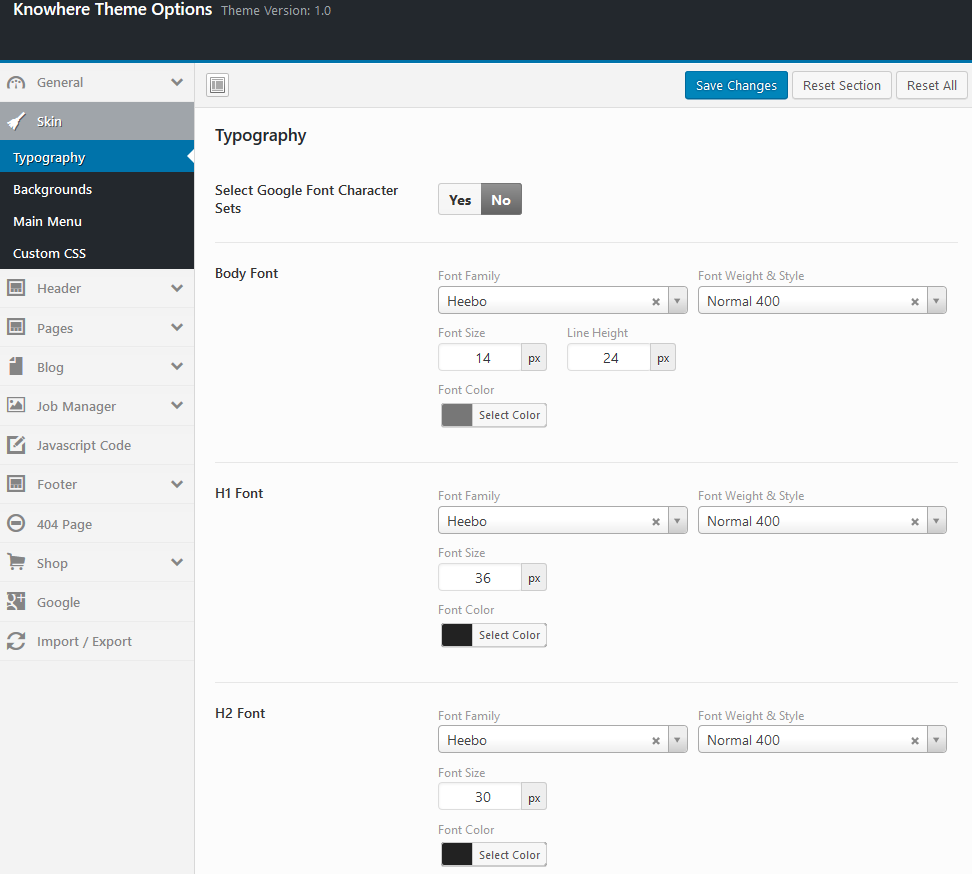
- Typography
Here you can change typography for all fonts and H1- H6 tags
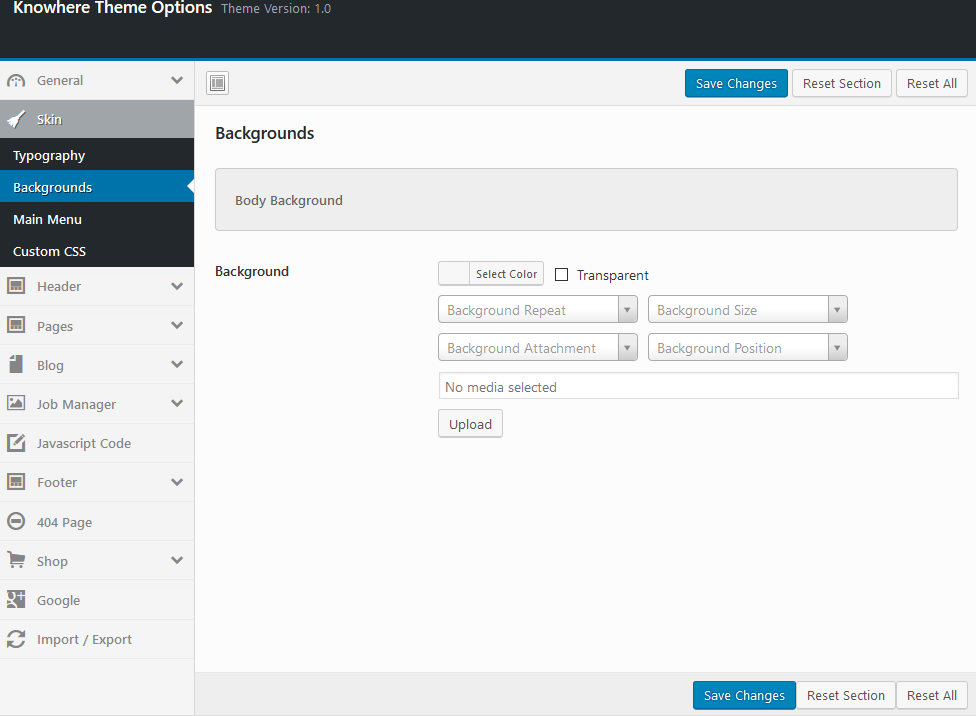
- Backgrounds
Here you can change background
- Main Menu
Here you can change typography and colors for Main Menu for different headers
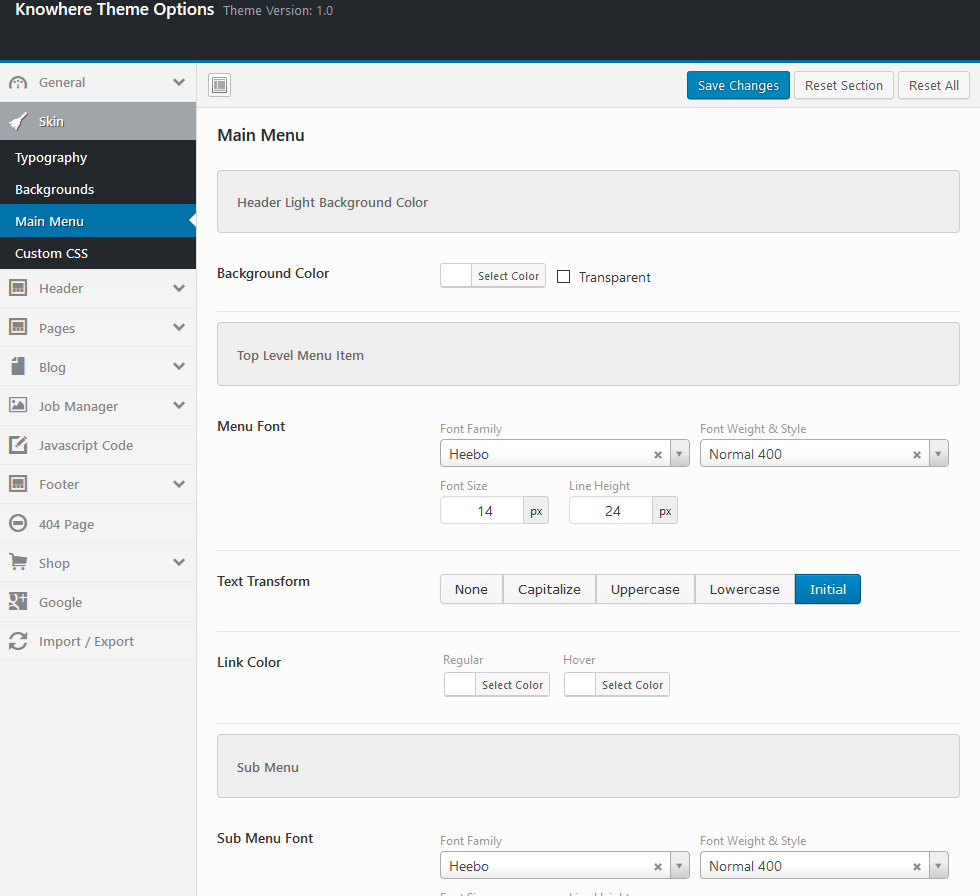
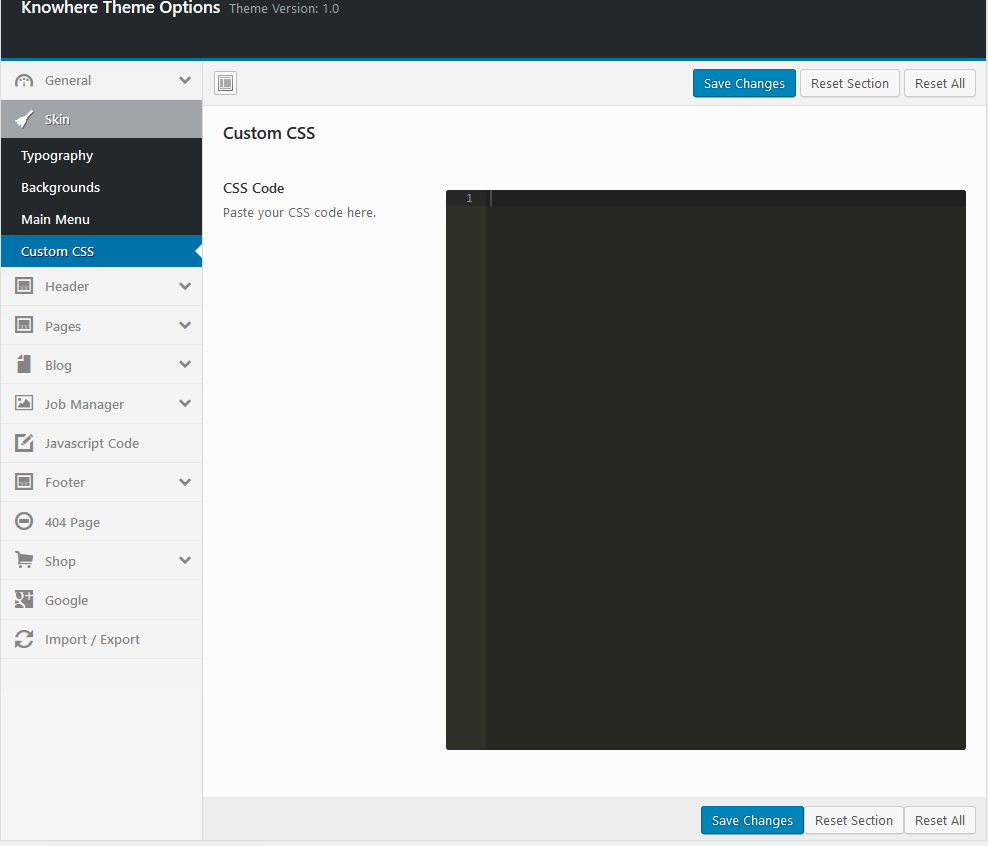
- Custom CSS
Here you can insert your custom css. It's dynamic css and it will be saved after updates
3.4 Header
Theme has several headers. Here you hide/show some elements on different header types

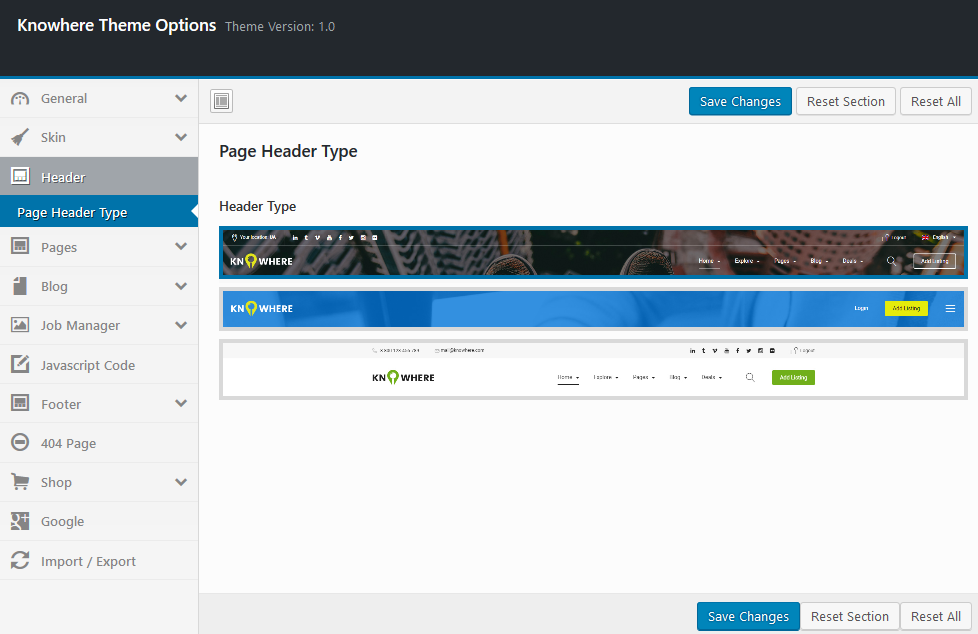
- Page Header Type
We have 3 different headers. Maybe we will add new headers in the future. Here you can choose default Header
3.5 Pages
- Pages & Posts
Here you can adjust show/hide Titles, breadcrumbs and upload background images

- you have tons of option to adjust this area. You can use mono or color background, image or video, breadcrumbs or zoom out effect
- Shop
Here you can adjust show/hide Titles, breadcrumbs

3.6 Blog
- These option allow you to switch on/off visibility of Date, Author, Categories, Tags and Excerption

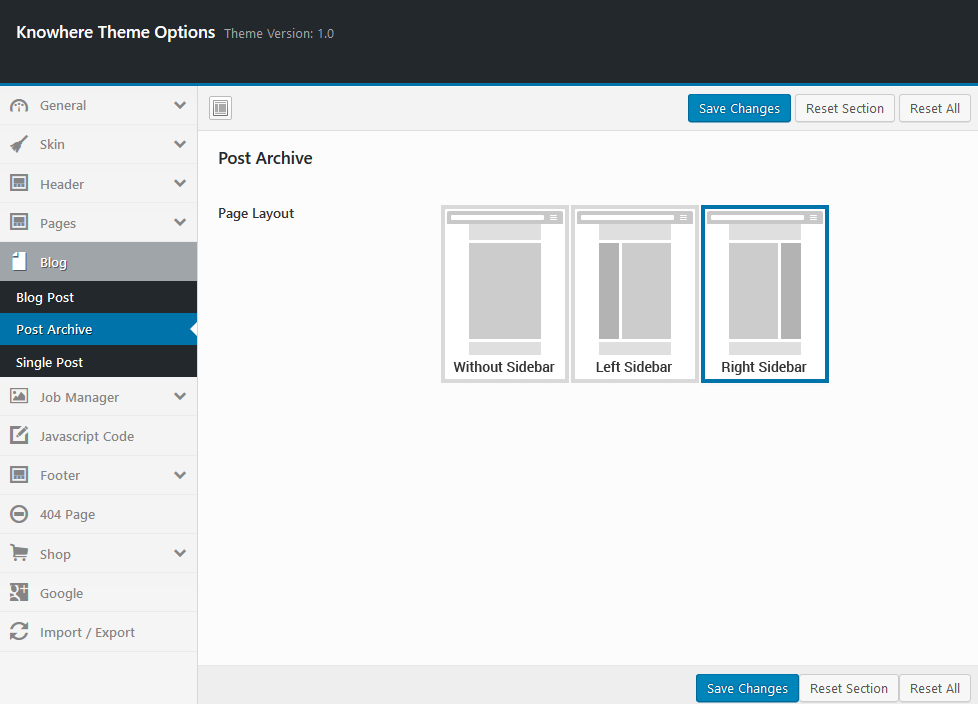
- Post Archive
Here you can choose default Sidebar position and Blog style
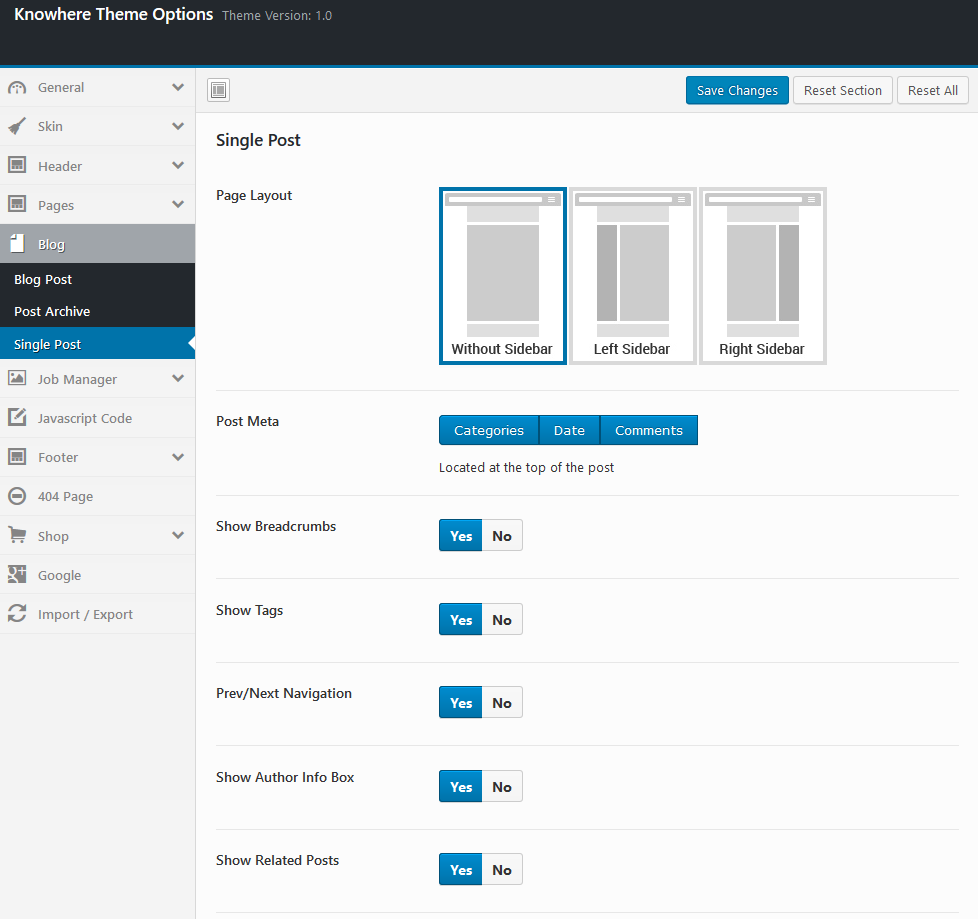
- Single Post
Here you can choose default Sidebar position and show/hide content elements
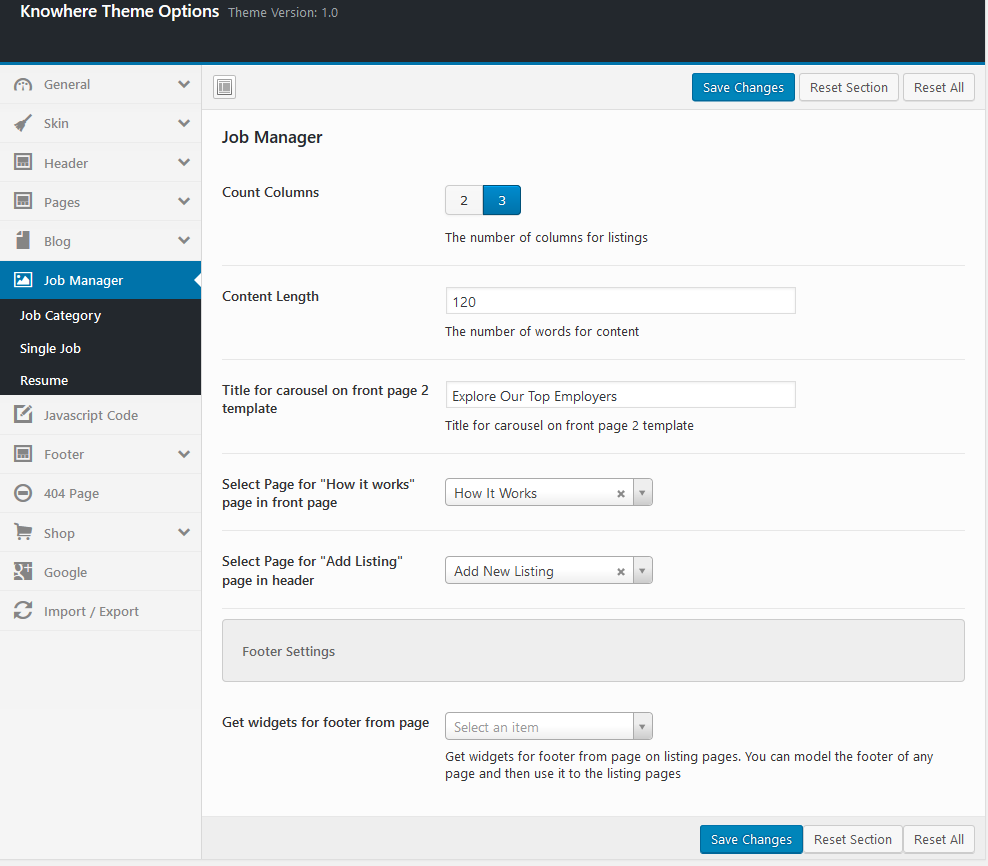
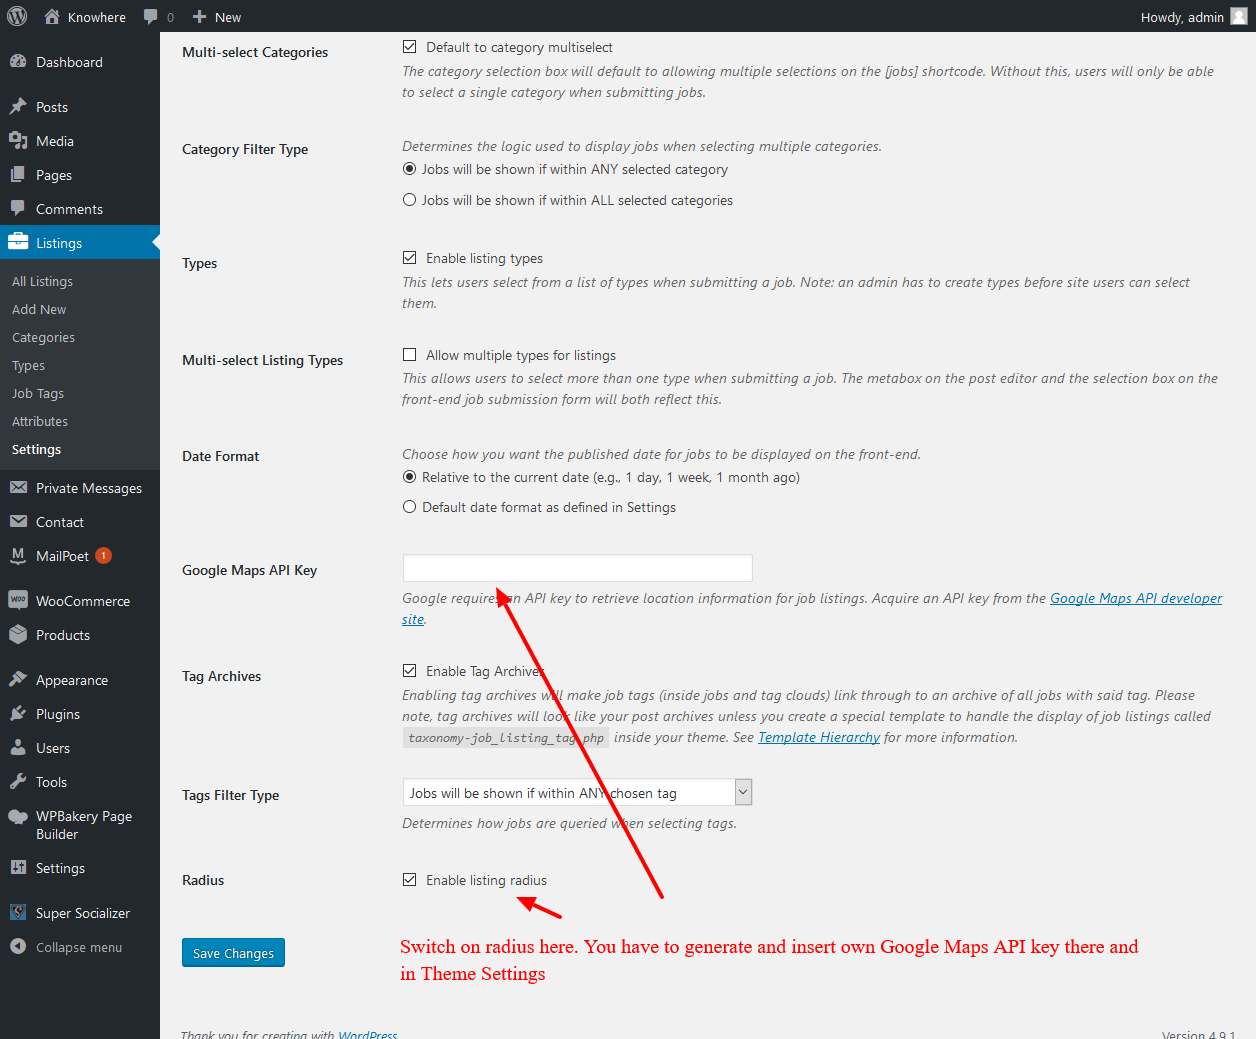
3.7 Job Manager
- These options affect your listing layout. You can choose default Columns, Excerption, title, etc.
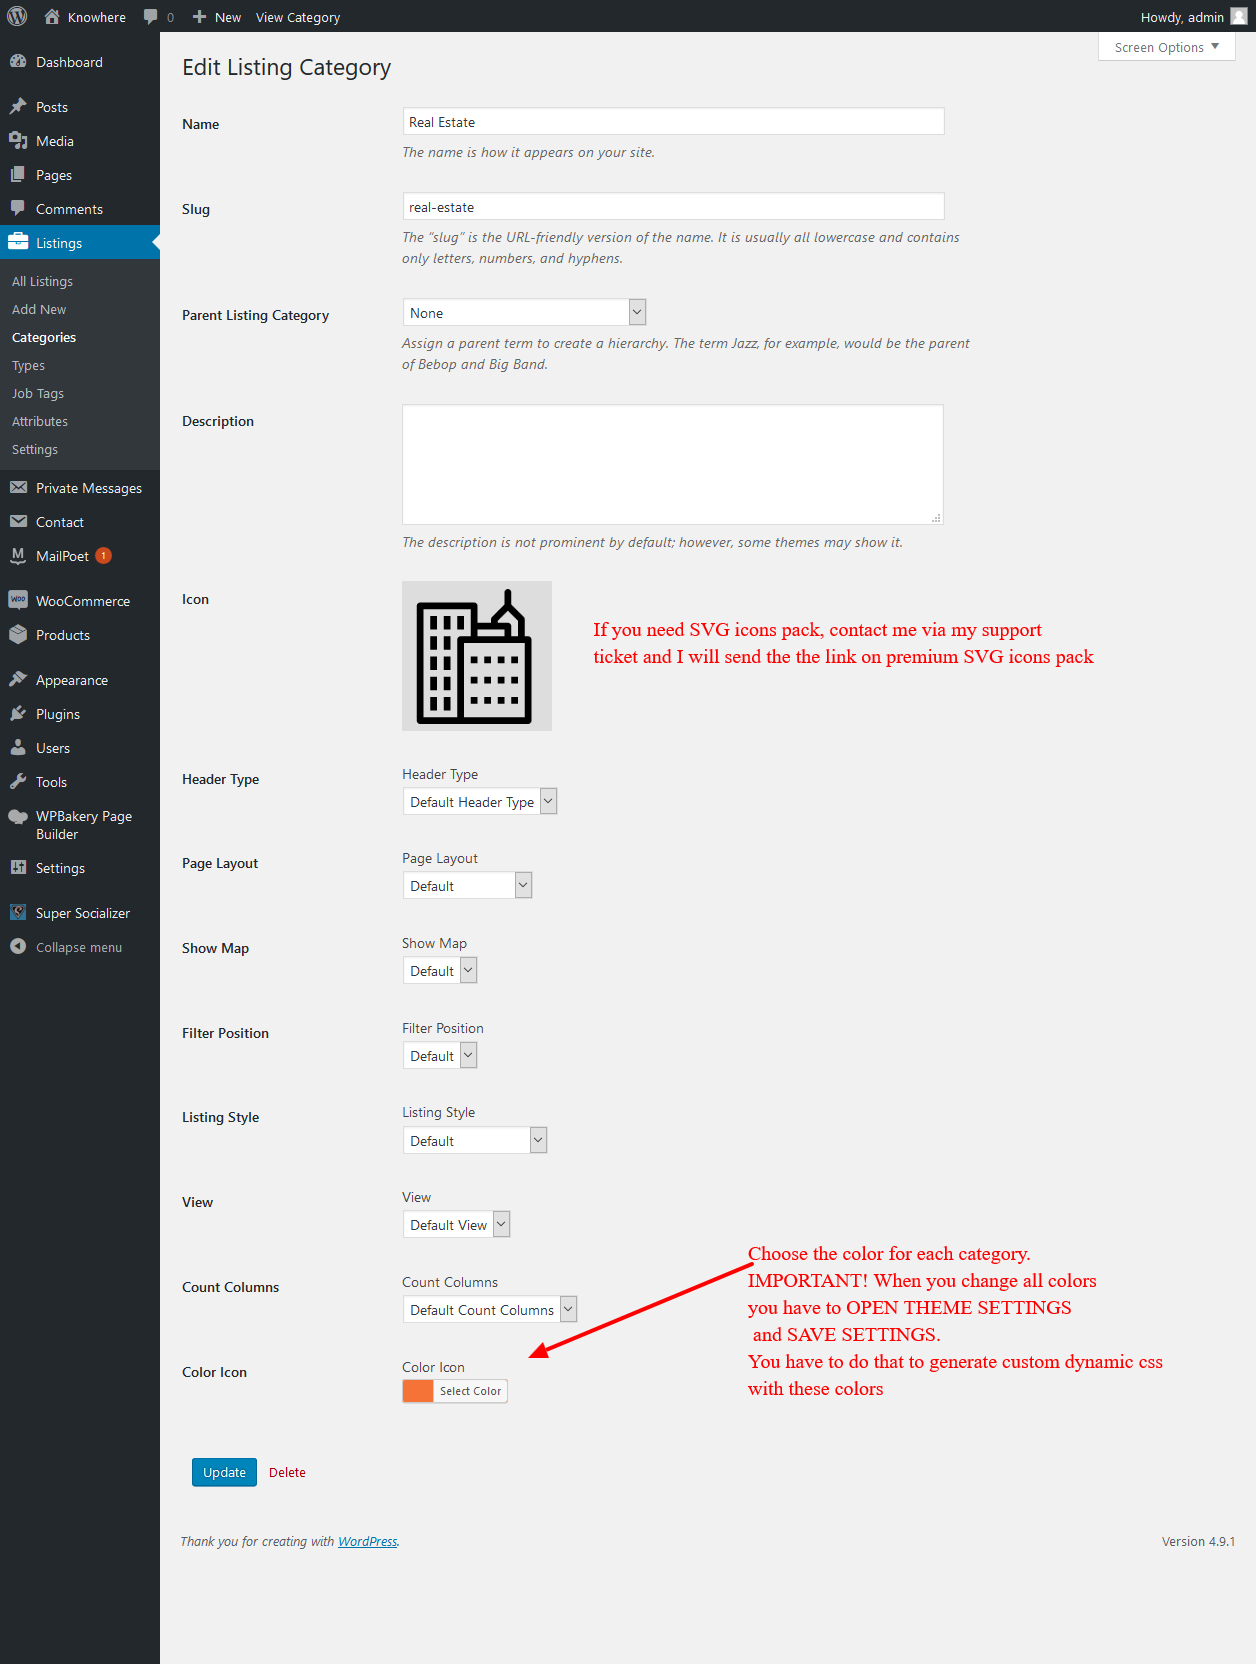
- Job Category
- Here you assign default header, page layout, default category listing layout style
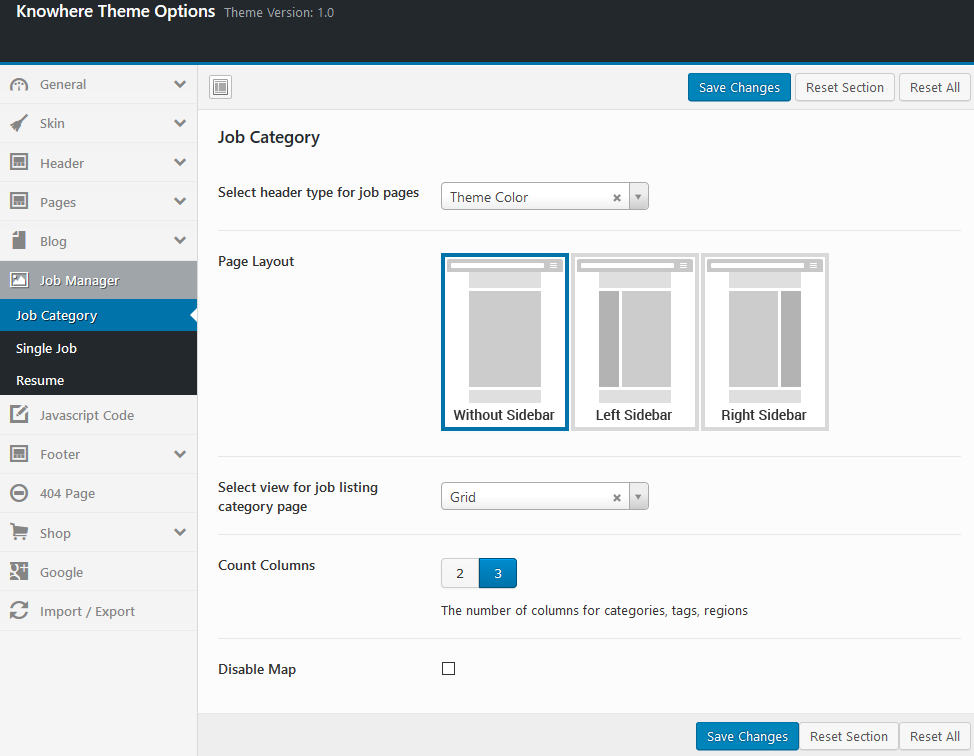
- Here you can adjust Page layout , styles and sidebar position

- Resume
- Here you choose layout type, sidebar and hide/show elements

3.8 Javascript Code
- Here you can add your custom js code.

3.9 Footer
- Here you can insert copyright and show or hide social icons and links

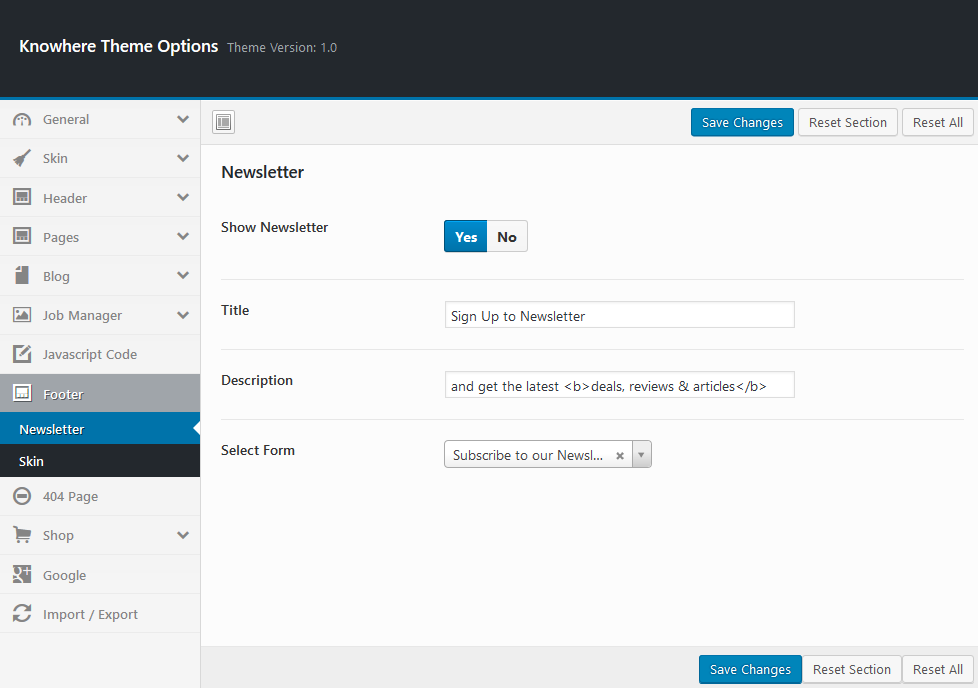
- Newsletter
- Here you show/hide Sign Up Newsletter block on pages
- Skin
- Here you adjust footer color settings

3.10 404 Page
Insert your text
3.11 Shop
- This tab contains several choices to change apperance of labels and assignment of footer widgets for Shop pages

- Product Archives
- Here you choose default sidebar position, sidebar and columns for Shop Archive page

- Single Product
- Here you choose default sidebar position, product elements visability, columns and upsells items

- Cart
- Here you adjust Cross-Sells products on Cart page

3.12 Google
- Here you have to insert Google Map API Key. How to create it read here https://developers.google.com/maps/documentation/javascript/get-api-key
3.13 Import/Export
- Here you can make import/export demo data file.
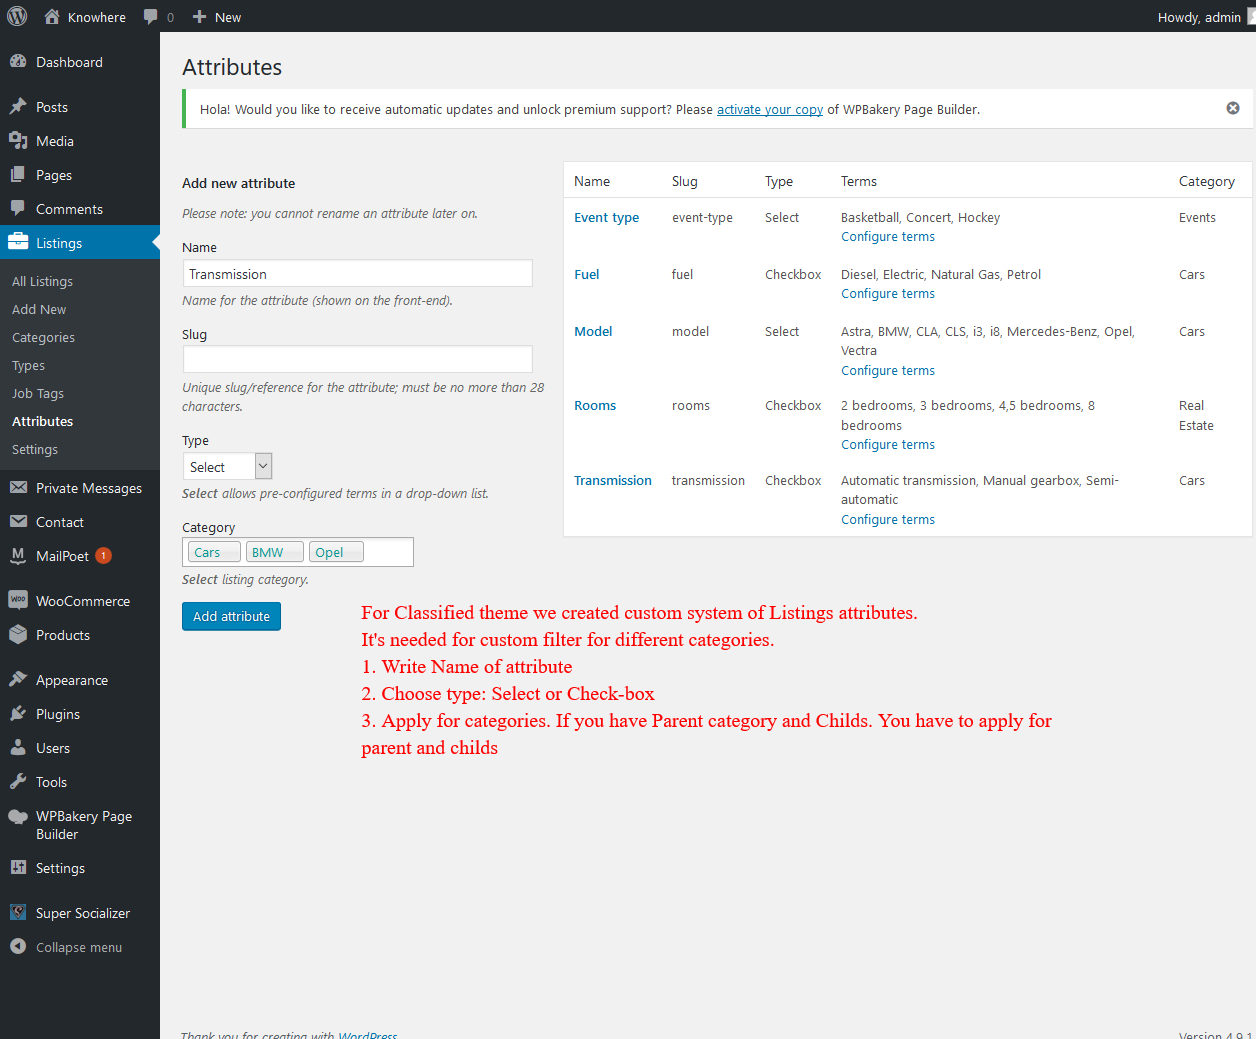
4. Classified Theme
Classified theme is needed additional functionality and you have to install or update Knowhere Pro Functionality plugin, which allows you to create custom attributes for Classified filter. If not, you can install this by following some steps below.
- Navigate Appearance > Install Plugins on admin sidebar.
- You should select and install Knowhere Pro Functionality
- You should activate this plugin.


5. Content Types
To use Knowhere Pro content type, please ensure that Knowhere Pro Custom Content Types and Taxonomies plugin, which allows you to create some custom post types, is already installed. If not, you can install this by following some steps below.
- Navigate Appearance > Install Plugins on admin sidebar.
- You should select and install Knowhere Pro Custom Content Types and Taxonomies
- You should activate this plugin.
5.1 Post
- General Information
Knowhere Pro provides many options to present your blog posts, along with several different blog layouts. In addition there are numerous Theme Options and Blog VC Options. The Knowhere Pro blog is very powerful. The following sections will cover each of these aspects of the blog that are listed below.
- Creating / Editing Posts
Step 1 - Navigate to Posts in your WordPress admin sidebar.
Step 2 - Click on the Add New option to make a new post. Create a title, and insert your post content in the editing field.
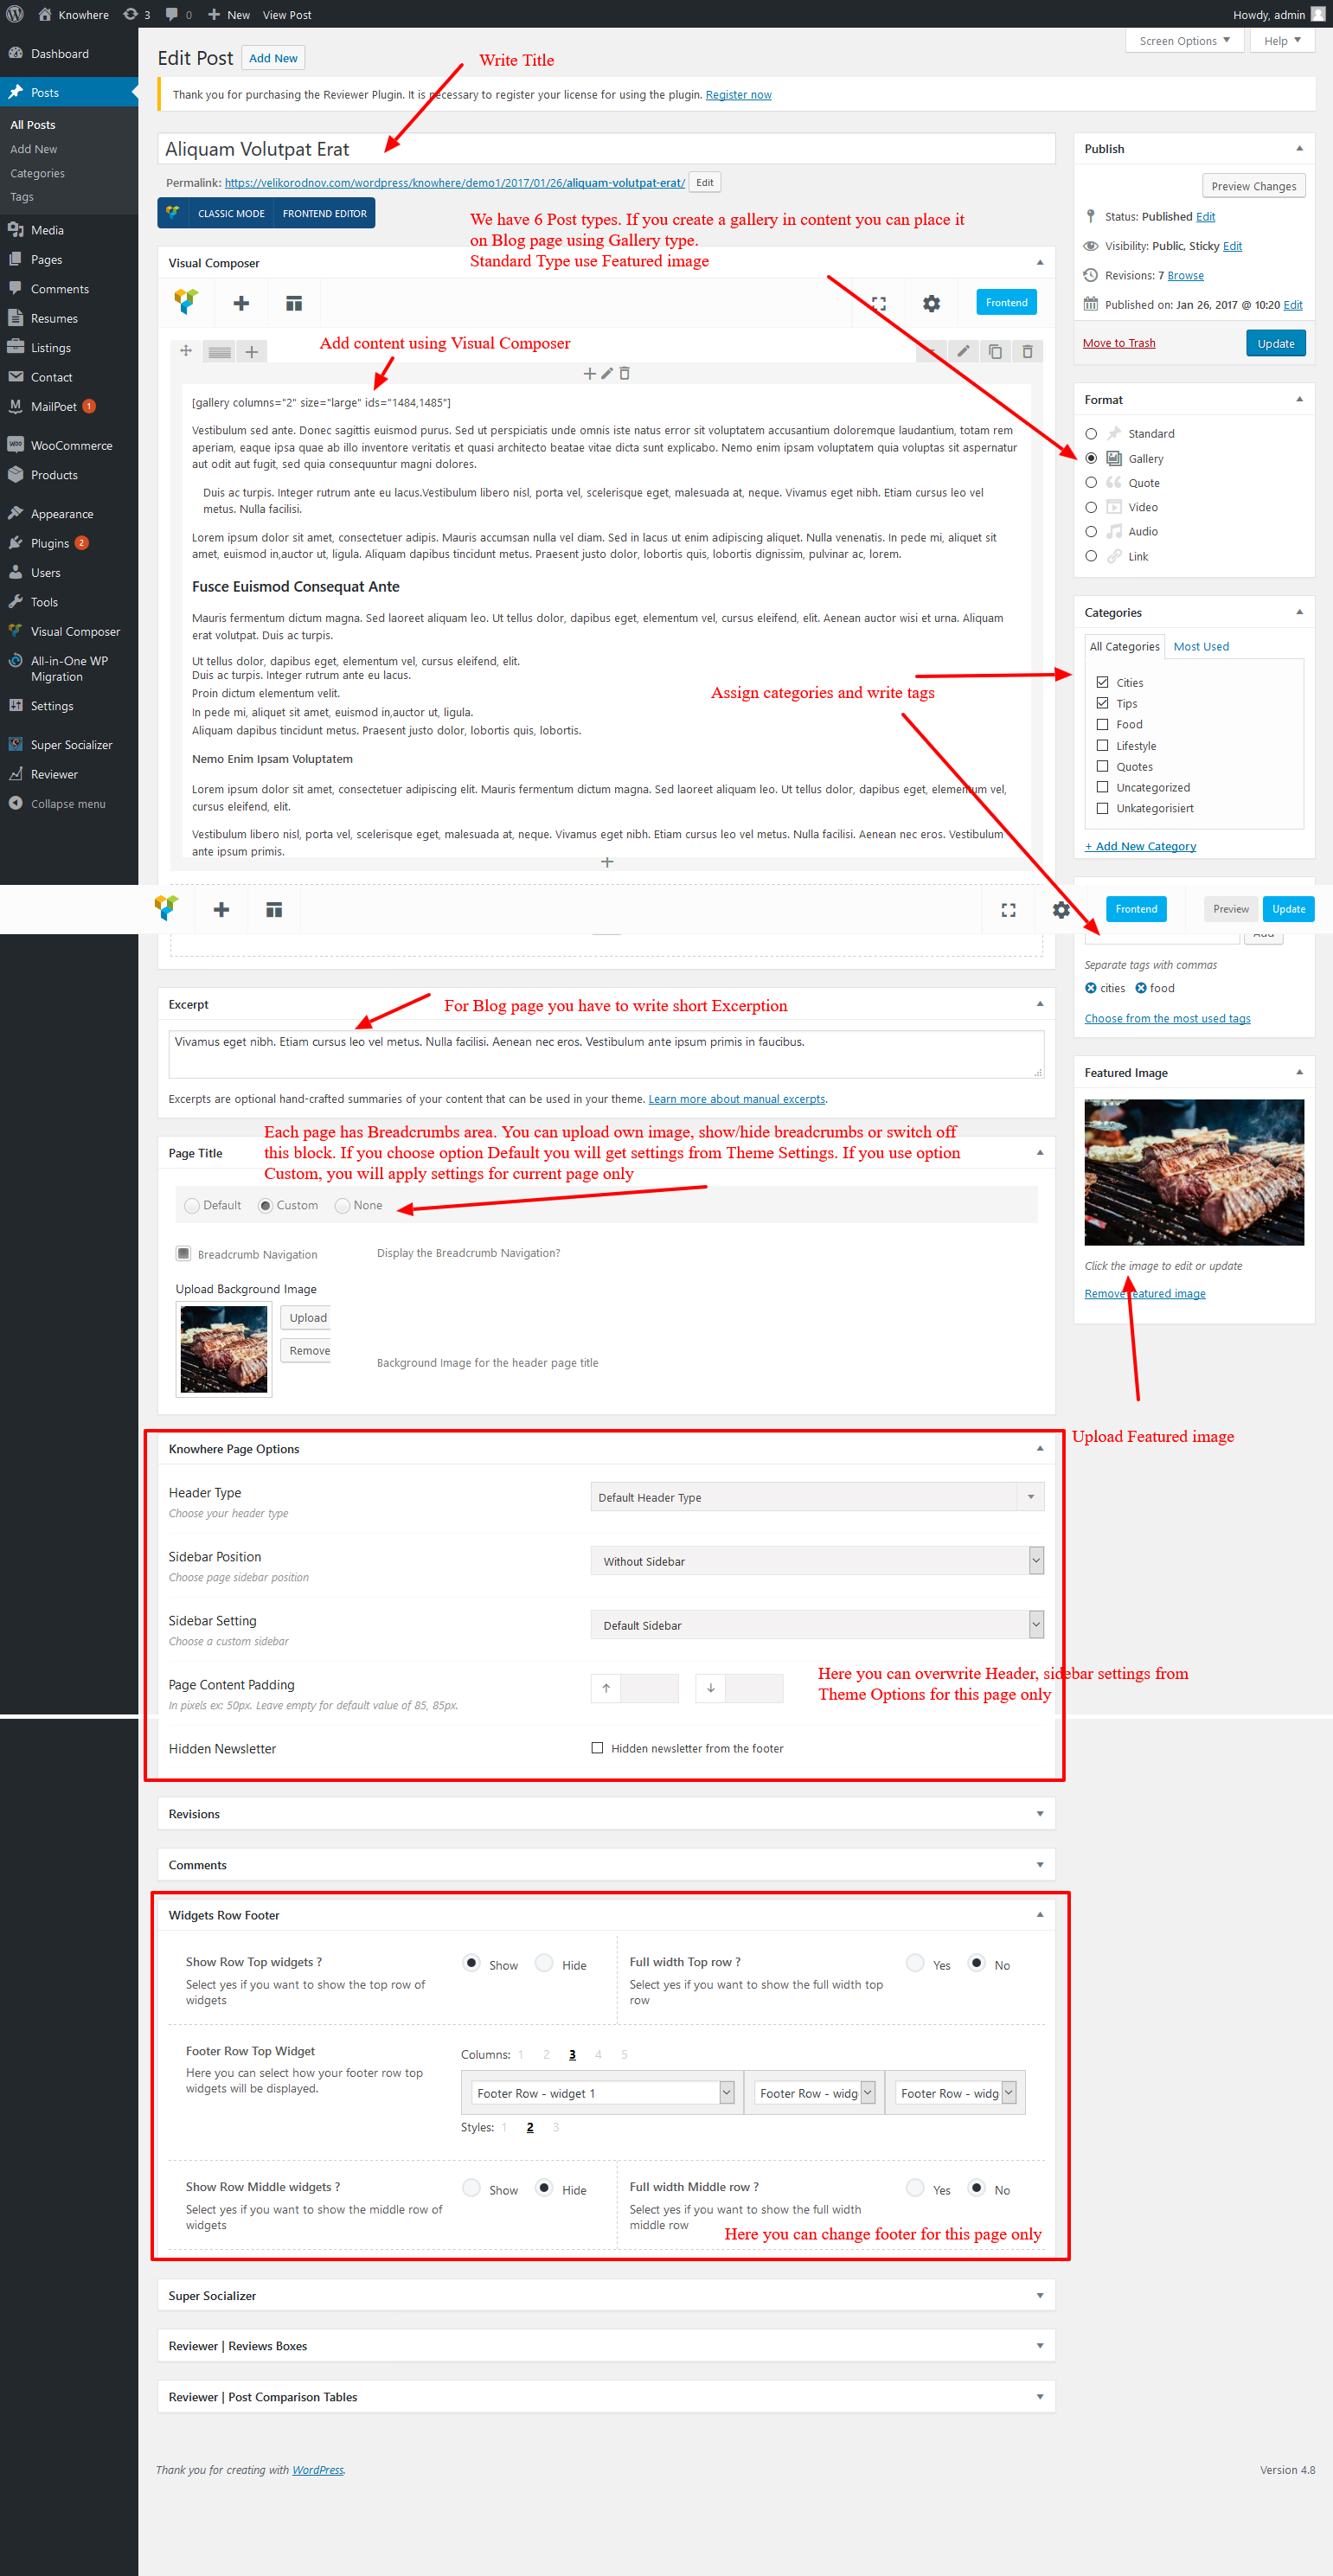
Step 4 - Post it.
5.2 Resumes
Resume post type is a standard Post type of JobManager. Here you can add Candidate's resume
- Creating / Editing Resume
Step 1 - Navigate to Resumes in your WordPress admin sidebar.
Step 2 - Click on the Add New option to make a new post. Create a title, and insert texts and adjust them.
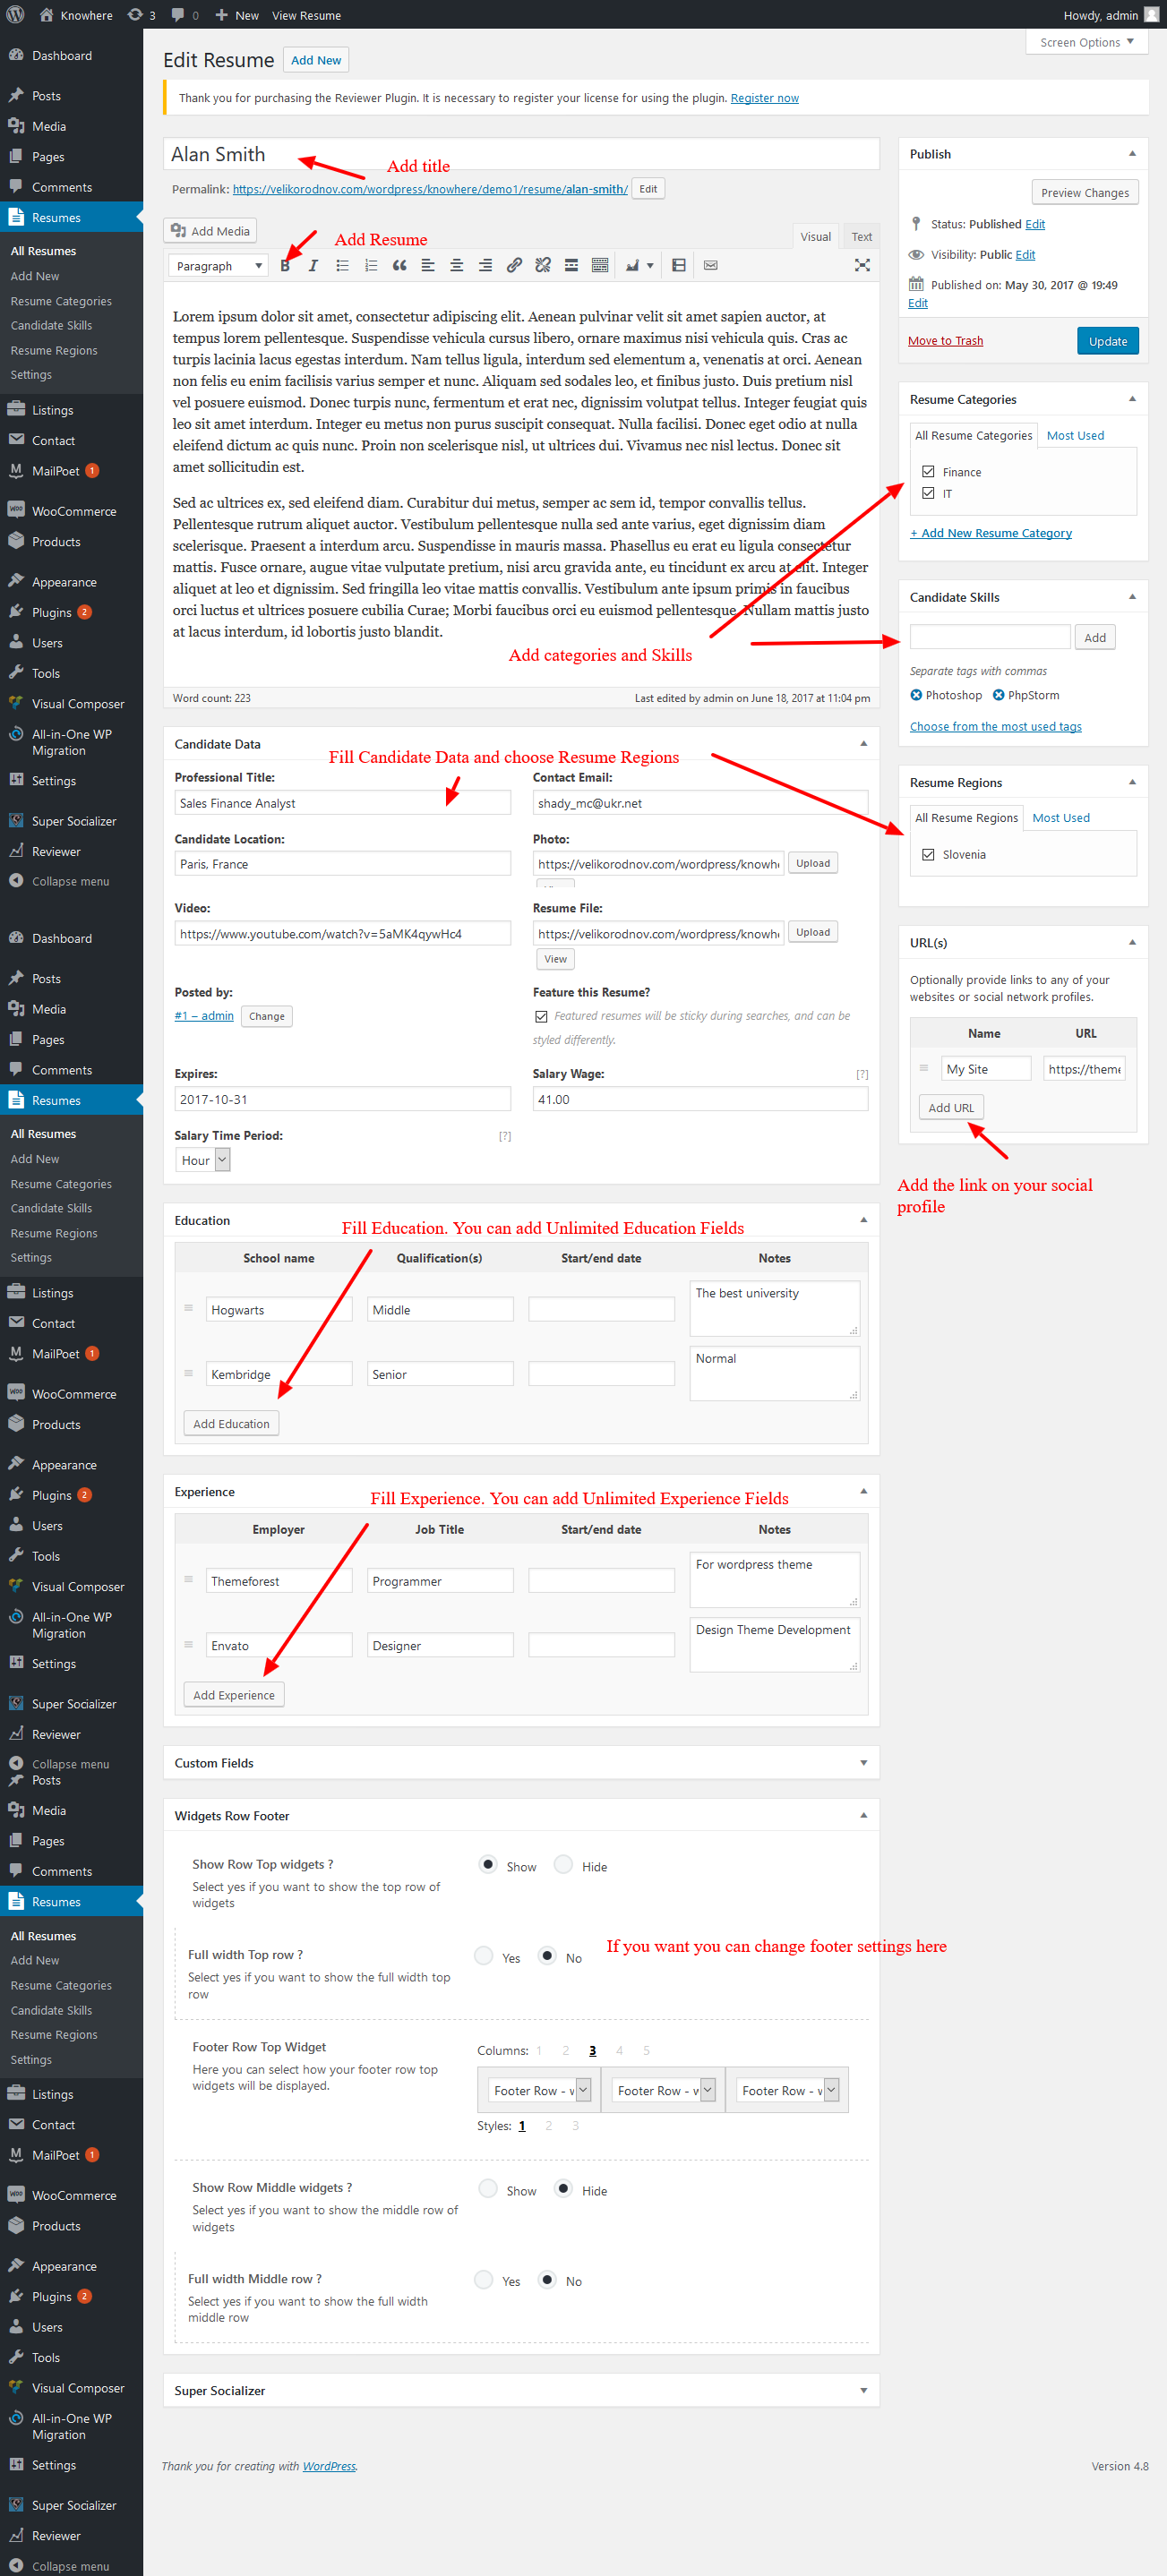
Step 4 - Post it.
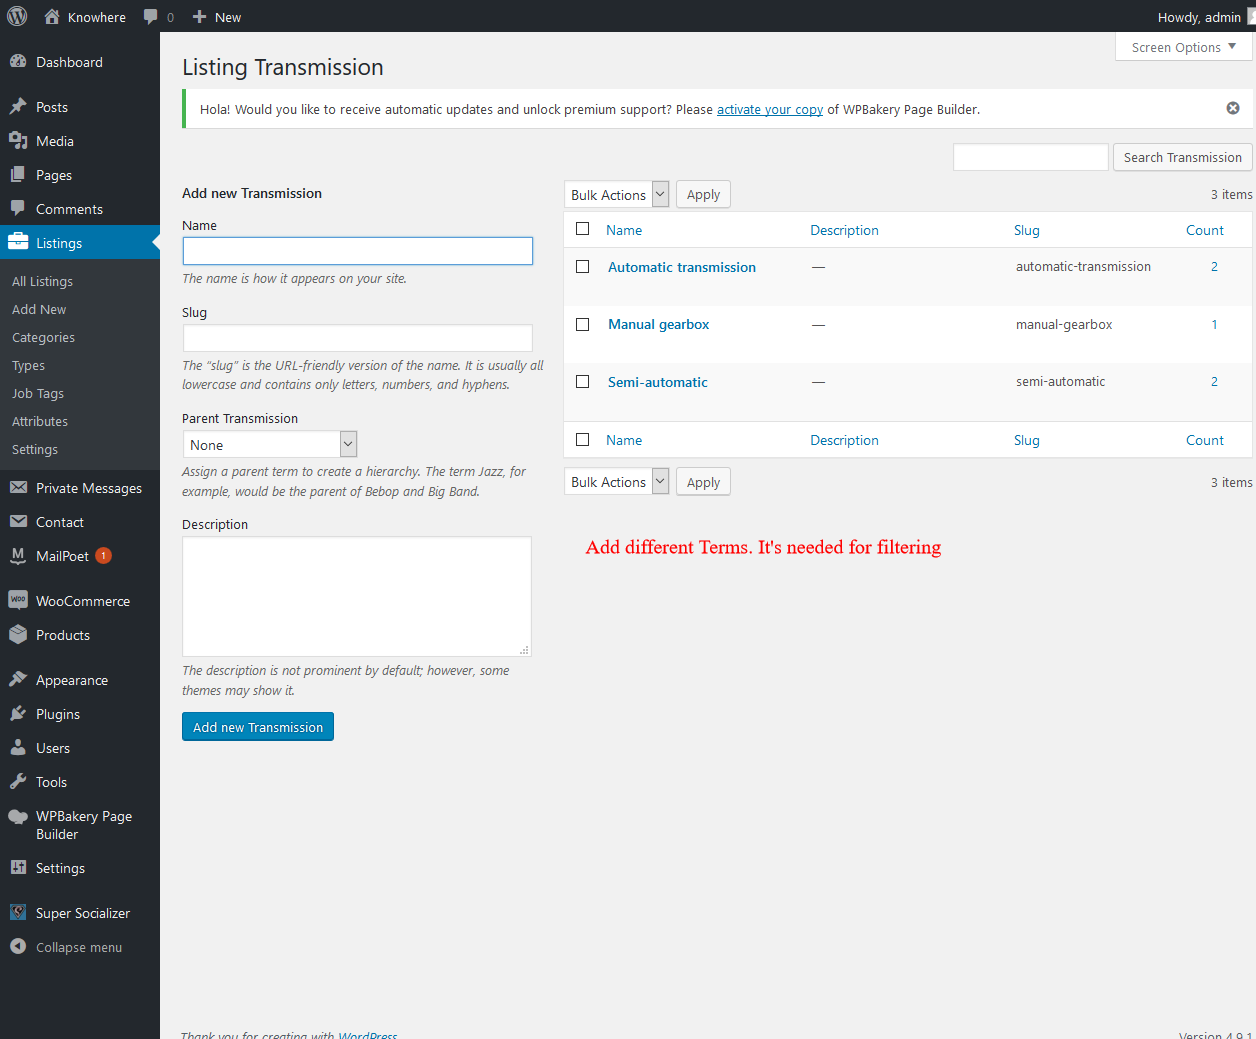
5.3 Listing
Creating / Editing block
Step 1 - Navigate to Listings in your WordPress admin sidebar.
Step 2 - Click on the Add New option to make a new content. Create a title, and insert your text in the editing field.

Step 4 - Post it.
6. Visual Composer elements
Remember to install and activate Knowhere Pro Custom Content Types and Taxonomies plugin.
- Please go in Appearance > Install Plugins on admin sidebar.
- You should select and install Knowhere Pro Custom Content Types and Taxonomies plugin.
- You should activate this plugin.
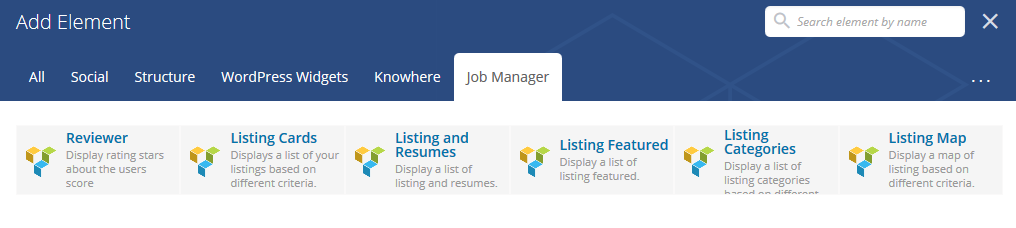
- How to add shortcodes using visual composer
You should enable visual composer editor.
You should select the element. If you click the following button, will be show the popup.

There are several content elements for you to choose.

- WooCommerce
Image below lists a lot of useful shortcodes of JobManager such as Listing Cards, Listing and Resumes, Listing map and Listing Categories.
- Knowhere Pro Shortcodes
In total, Knowhere Pro provides a lot of effective shortcodes for you. Besides some general settings for animations such as animation type, item delay and extra class, each shortcodes will contain their own options.

6.1 Knowhere Pro Accordions
This shortcodes will help you to show accordion or toggle. Type shortcode have accordion or toggle option.

- Text: Write lists
- Style: Choose Classic or Secondary style
- Toggle: choose toggle option if you need it
Below is the screenshot of accordions and toggles:
- Several styles

6.2 Knowhere Pro Alert Boxes
It allows you to display item of Alert Boxes.
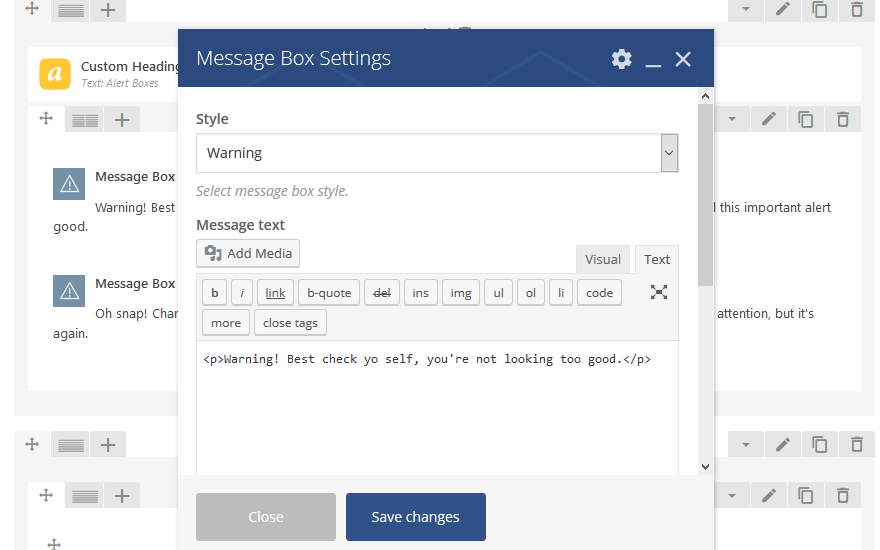
This shortcode lets you:
- Style: Success, Warning, Fail and Info
- Type: We have Style 1 and 2
- Write your Text
Below is the screenshot of shortcode Alert Boxes:

6.3 Knowhere Pro Buttons
Knowhere Pro provides this shortcode for you to display different buttons.
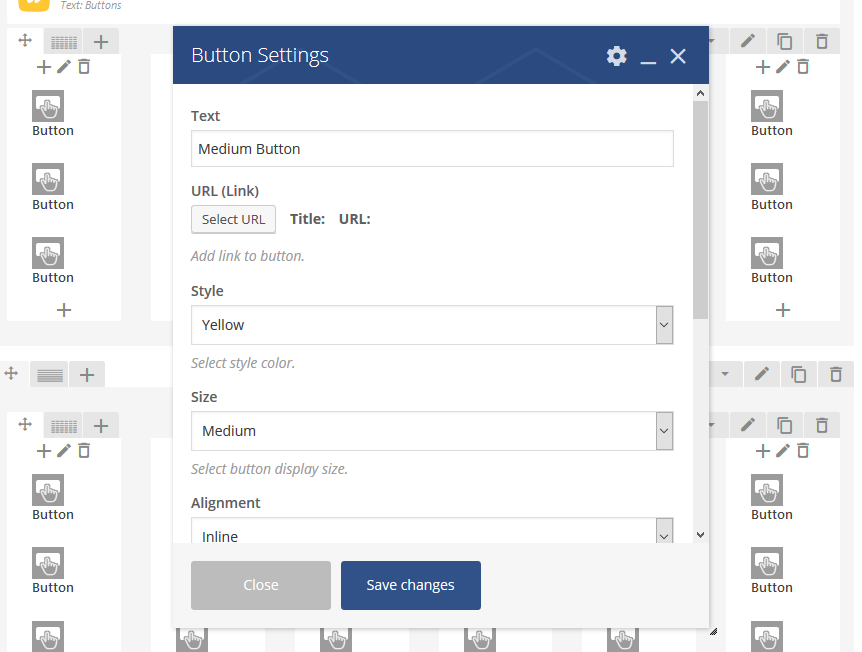
- Write text button
- Choose style
- Button size.
- Alignment
- and color reverse.
Below is the screenshot of shortcode buttons:
- See all styles.

6.4 Knowhere Pro Call to Action
This shortcode will display different Call to Action blocks.
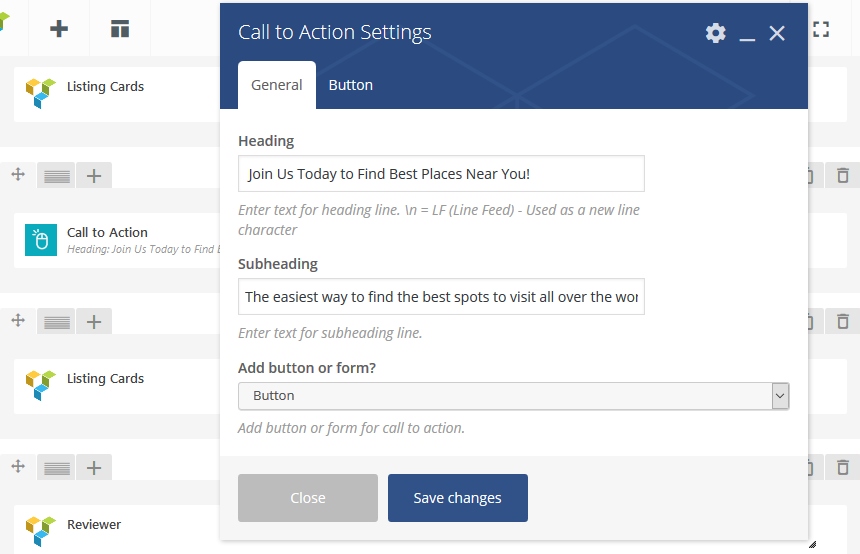
- Write Heading
- Write Subheading
- Add the button
- Add the button link

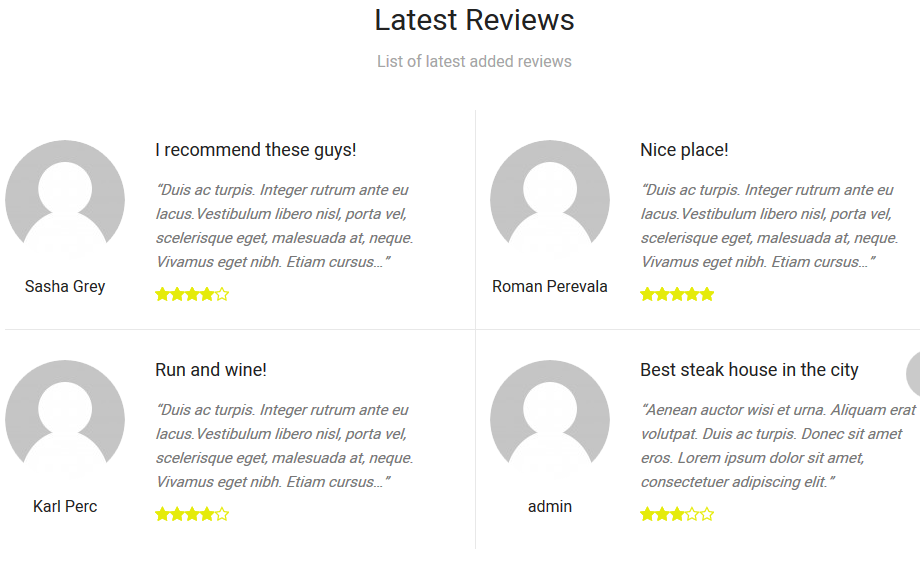
6.5 Knowhere Pro Review Carousels
It helps you to create Review Carousels.
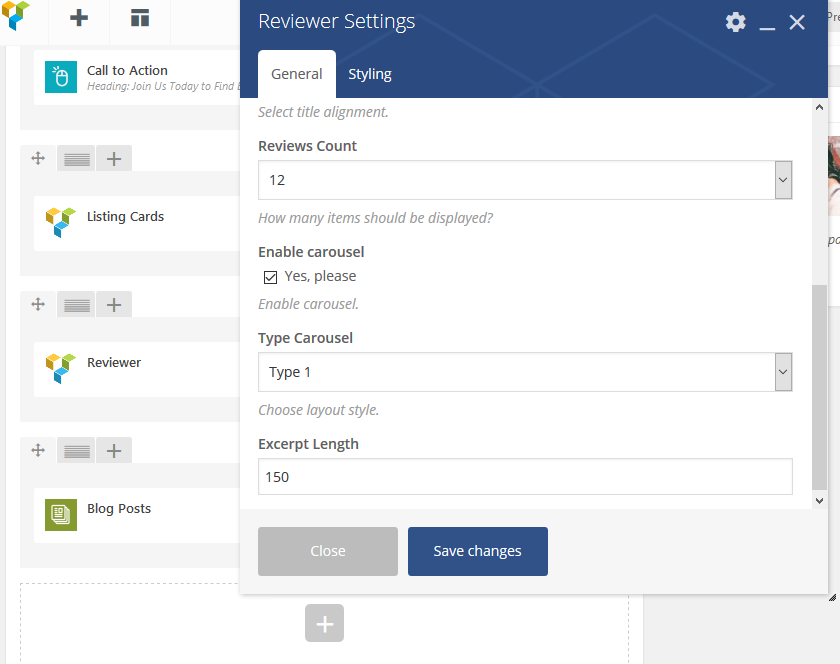
For this shortcode, you also can:
- Write the Headings block
- Write Subheadings
- Choose number of reviews
- Enable Carousel
- Choose the style of layout
- Number of review symbols
Below will be screenshot for layout of Carousels.
6.6 Knowhere Pro Counters
This shortcode show counters.

- Write the text
- Choose text align
- Choose the type
Below will be screenshot for Counters.

6.7 Knowhere Pro Blog element
This shortocode show different blog elements.There are 3 layouts:
- Masonry
- Carousel
- Default
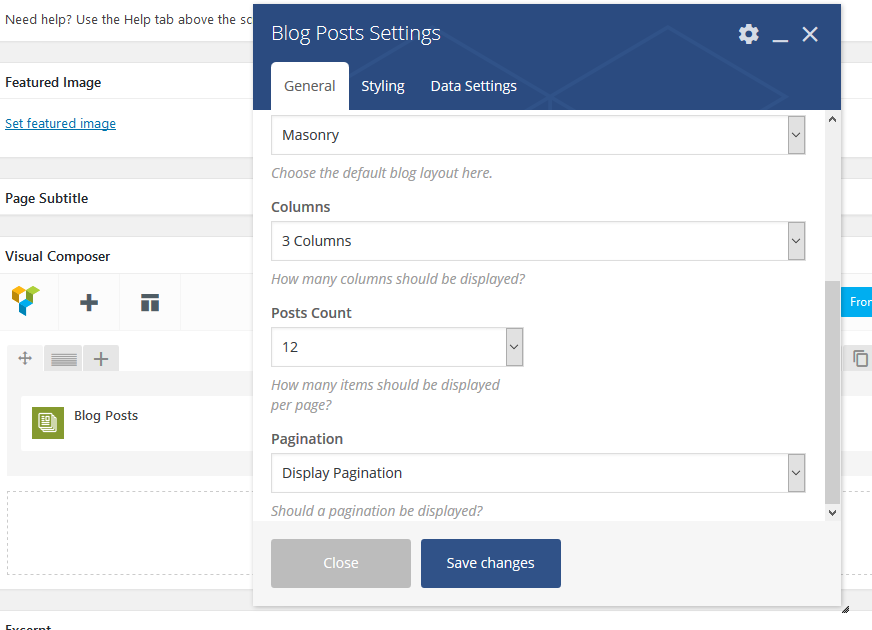
- Write title and subtitle
- Choose the style
- Choose title align
- Choose blog style, columns and post number
- Switch on/off pagination
- Choose categories and order
Below will be screenshot for layout of Blog.

6.8 Knowhere Pro Dropcap
This shortocode show dropcap.

- Write letter
- Choose color
- add the text
Below is the screenshot of shortcode Grid Portfolio:

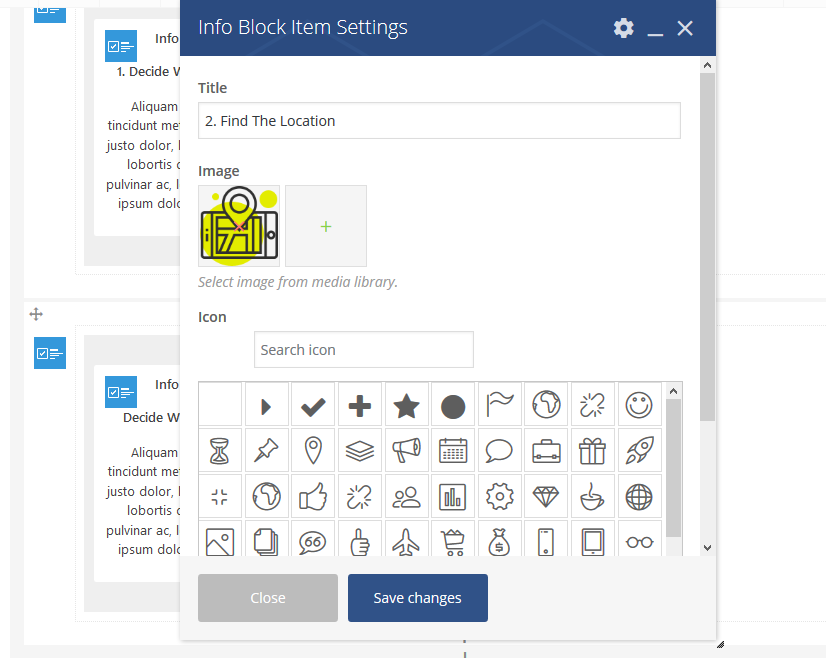
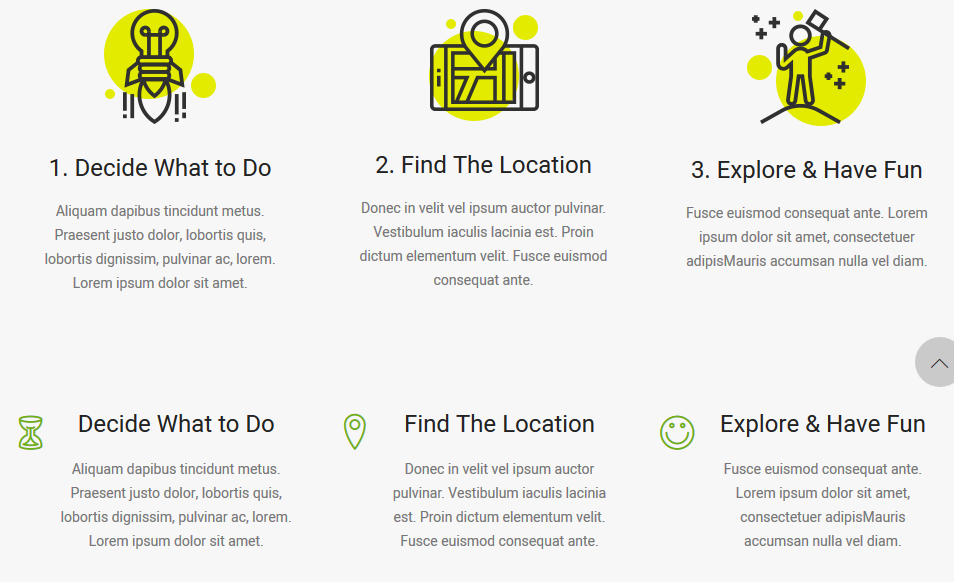
6.9 Knowhere Pro Infoblocks
Main infoblock element has such settings:
- Title
- Upload image or choose icon
- Write a text
6.10 Knowhere Pro Lists
This shortocode has Icons and Text for List
See all settings:

- Choose the icon
- Write the text
Below is the screenshot of Lists:

6.11 Knowhere Pro Pricing Tables
This shortocode show Pricing Tables settings
See main settings:
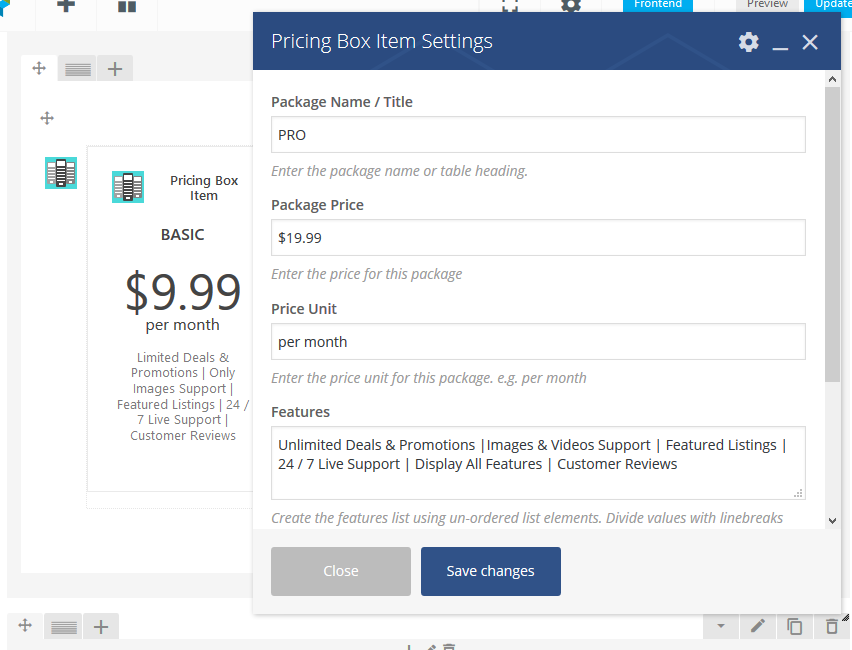
- Write title
- Price
- Price unit
- Features
Below is the screenshot of Pricing tables:

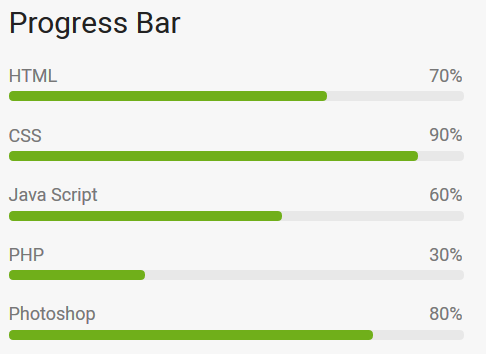
6.12 Knowhere Pro Progress Bar
This shortocode show progress bar settings
See main settings:

- Write title
- Add label
- Value
Below is the screenshot of progress bars:
6.13 Knowhere Pro Deviders
This shortocode show Separators settings
See main settings:

- Choose color
- Choose alignment
- Choose border, width
Below is the screenshot of tables:

6.14 Knowhere Pro Tabs/Tours
This shortocode show tabs settings. This element has 4 styles
See main settings:

- Write the title
- Add text
Below is the screenshot of tabs and tours:

6.15 Knowhere Pro Partners
This shortocode show Partners element. T
See main settings:

- Upload logos
- Add links

7. Widgets
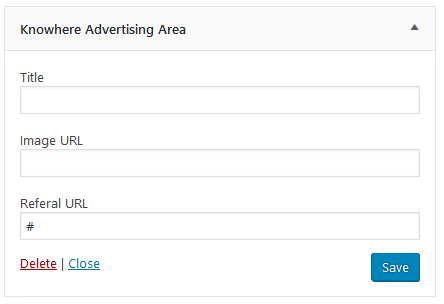
7.1 Knowhere Pro Advertizing area widget
- Please go in Appearance > Widgets on admin sidebar.
- You should addAdvertizing widget in the sidebar.
-
This widget provides update title, image link and external link.

7.2 Knowhere Pro Contact Us widget
- Please go in Appearance > Widgets on admin sidebar.
- You should add Contact widget in the sidebar.
-
This widget provides such options.
- Display title
- Display address
- Display phone
- Display email
- Display social icons

Contact

7.3 Knowhere Pro Instagram widget
This widget helps you to show image flick in library image count flick.
- Please go in Appearance > Widgets on admin sidebar.
- You should add Instagram widget in the sidebar.
-
This widget provides 5 option.
- Add title widget.
- Add id user instagram.
- Number image show.
- Target page.
- Button text.


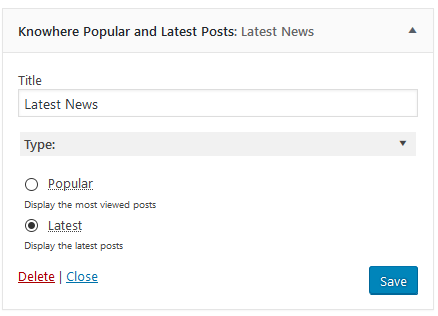
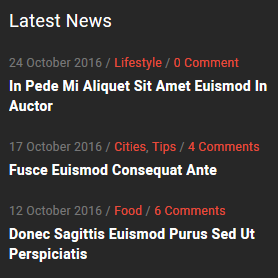
7.4 Knowhere Pro Popular and Latest Posts widget
This widget helps you to show like page facebook.
- Please go in Appearance > Widgets on admin sidebar.
- You should add Popular and Recent Posts widget in the sidebar.
-
This widget provides 2 option.
- Add title widget.
- Choose type of posts.
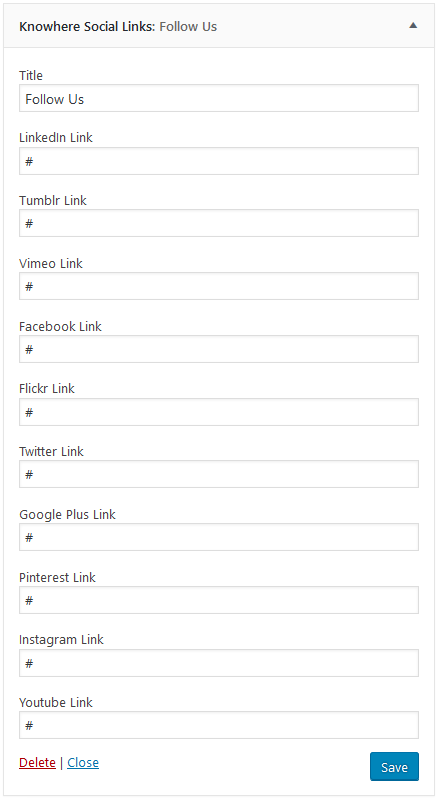
7.5 Knowhere Pro Social links widget
This widget helps you to show post new about post.
- Please go in Appearance > Widgets on admin sidebar.
- You should add Social links widget in the sidebar.
-
This widget provides 10 option.
- Add title widget.
- Insert needed social links.

8. Translation
Use WPML
WPML is the most popular plugin for multi language support. Below you will find documentation their team created for using WPML plugin. If you've purchased WPML and have any questions or issues, please check the links below.
- WPML Plugin - The highly recommended plugin to manage multi-lingual sites
- WPML Forum Support - If you bought WPML then you get free support from their amazing team
- Translating Widgets - Tutorial recommended by wpml team for translating widgets
Also read our Article How to translate theme
9. Site Speed Up
We recommend using the WP Super Cache, W3 Total Cache plugins.
Excluding pages from the cache
If using caching plugins, make sure you exclude the following pages from the cache through their respective settings panels:
- Cart
- My Account
- Checkout
- Wishlist
These pages need to stay dynamic since they display information specific to the current customer.
10. Plugin's Documentation
We do not provide the support for 3rd party plugins and modules. In this case you will have to purchase a personal license on the plugin's/module's official website in order to get the help
Please read following documentations
- WooCommerce documentation
- Visual Composer documentation
- MailChimp API documentation
- Contact Form7 documentation
- Job Manager documentation
- MailPoet documentation
11. Premium Plugins
We do not provide Premium plugins inside of our theme, but I bought all plugins with developer license and I can install by myself for my end customers. In this case you have to open a ticket here https://velikorodnov.ticksy.com/